Introduction
MuleSoft is a robust integration platform that allows seamless connection between applications, data, and devices. In this first part of our blog series
(read the second part here), we will guide you through the initial steps of building a MuleSoft application using Anypoint Studio and testing it locally. Let’s dive in!
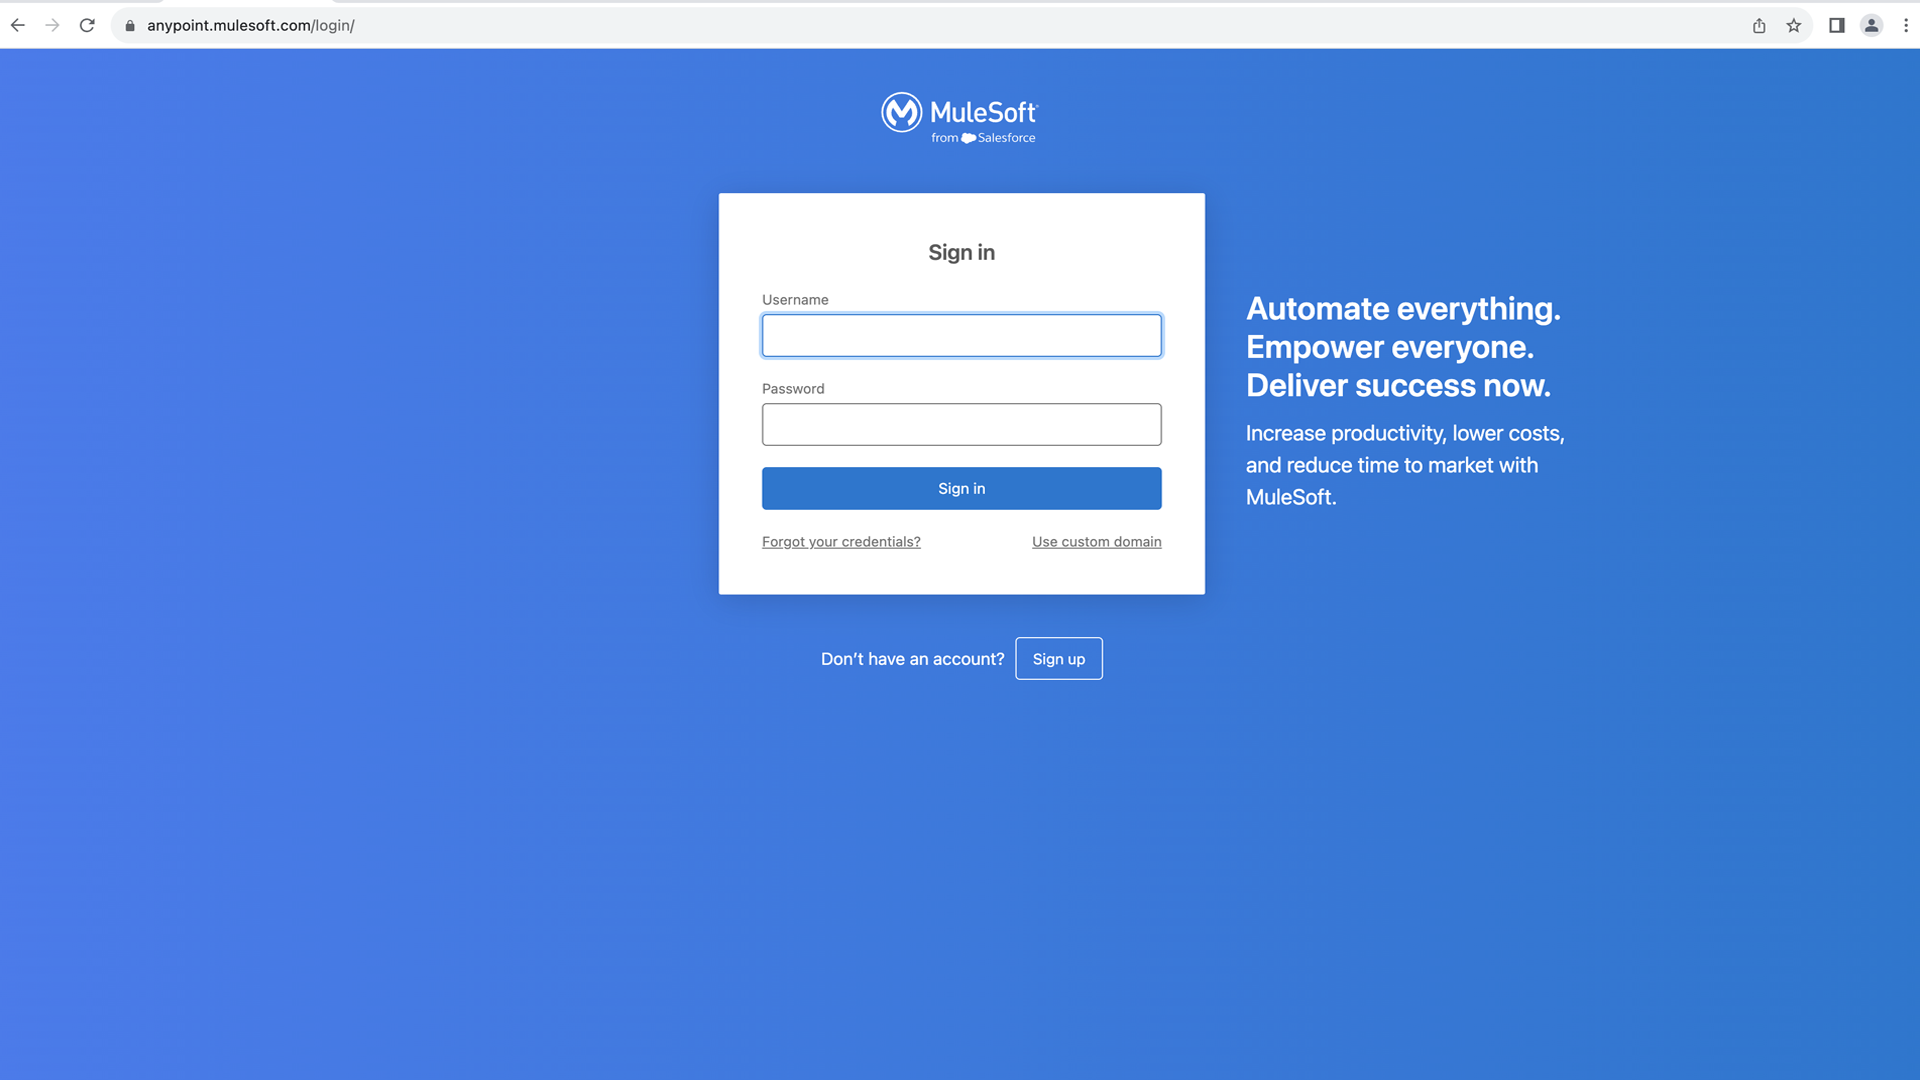
Step 1: Create a Free Trial Account
The first thing to do is visit anypoint.mulesoft.com to create a free trial account on the Anypoint platform. This account will be used to deploy your application to CloudHub.
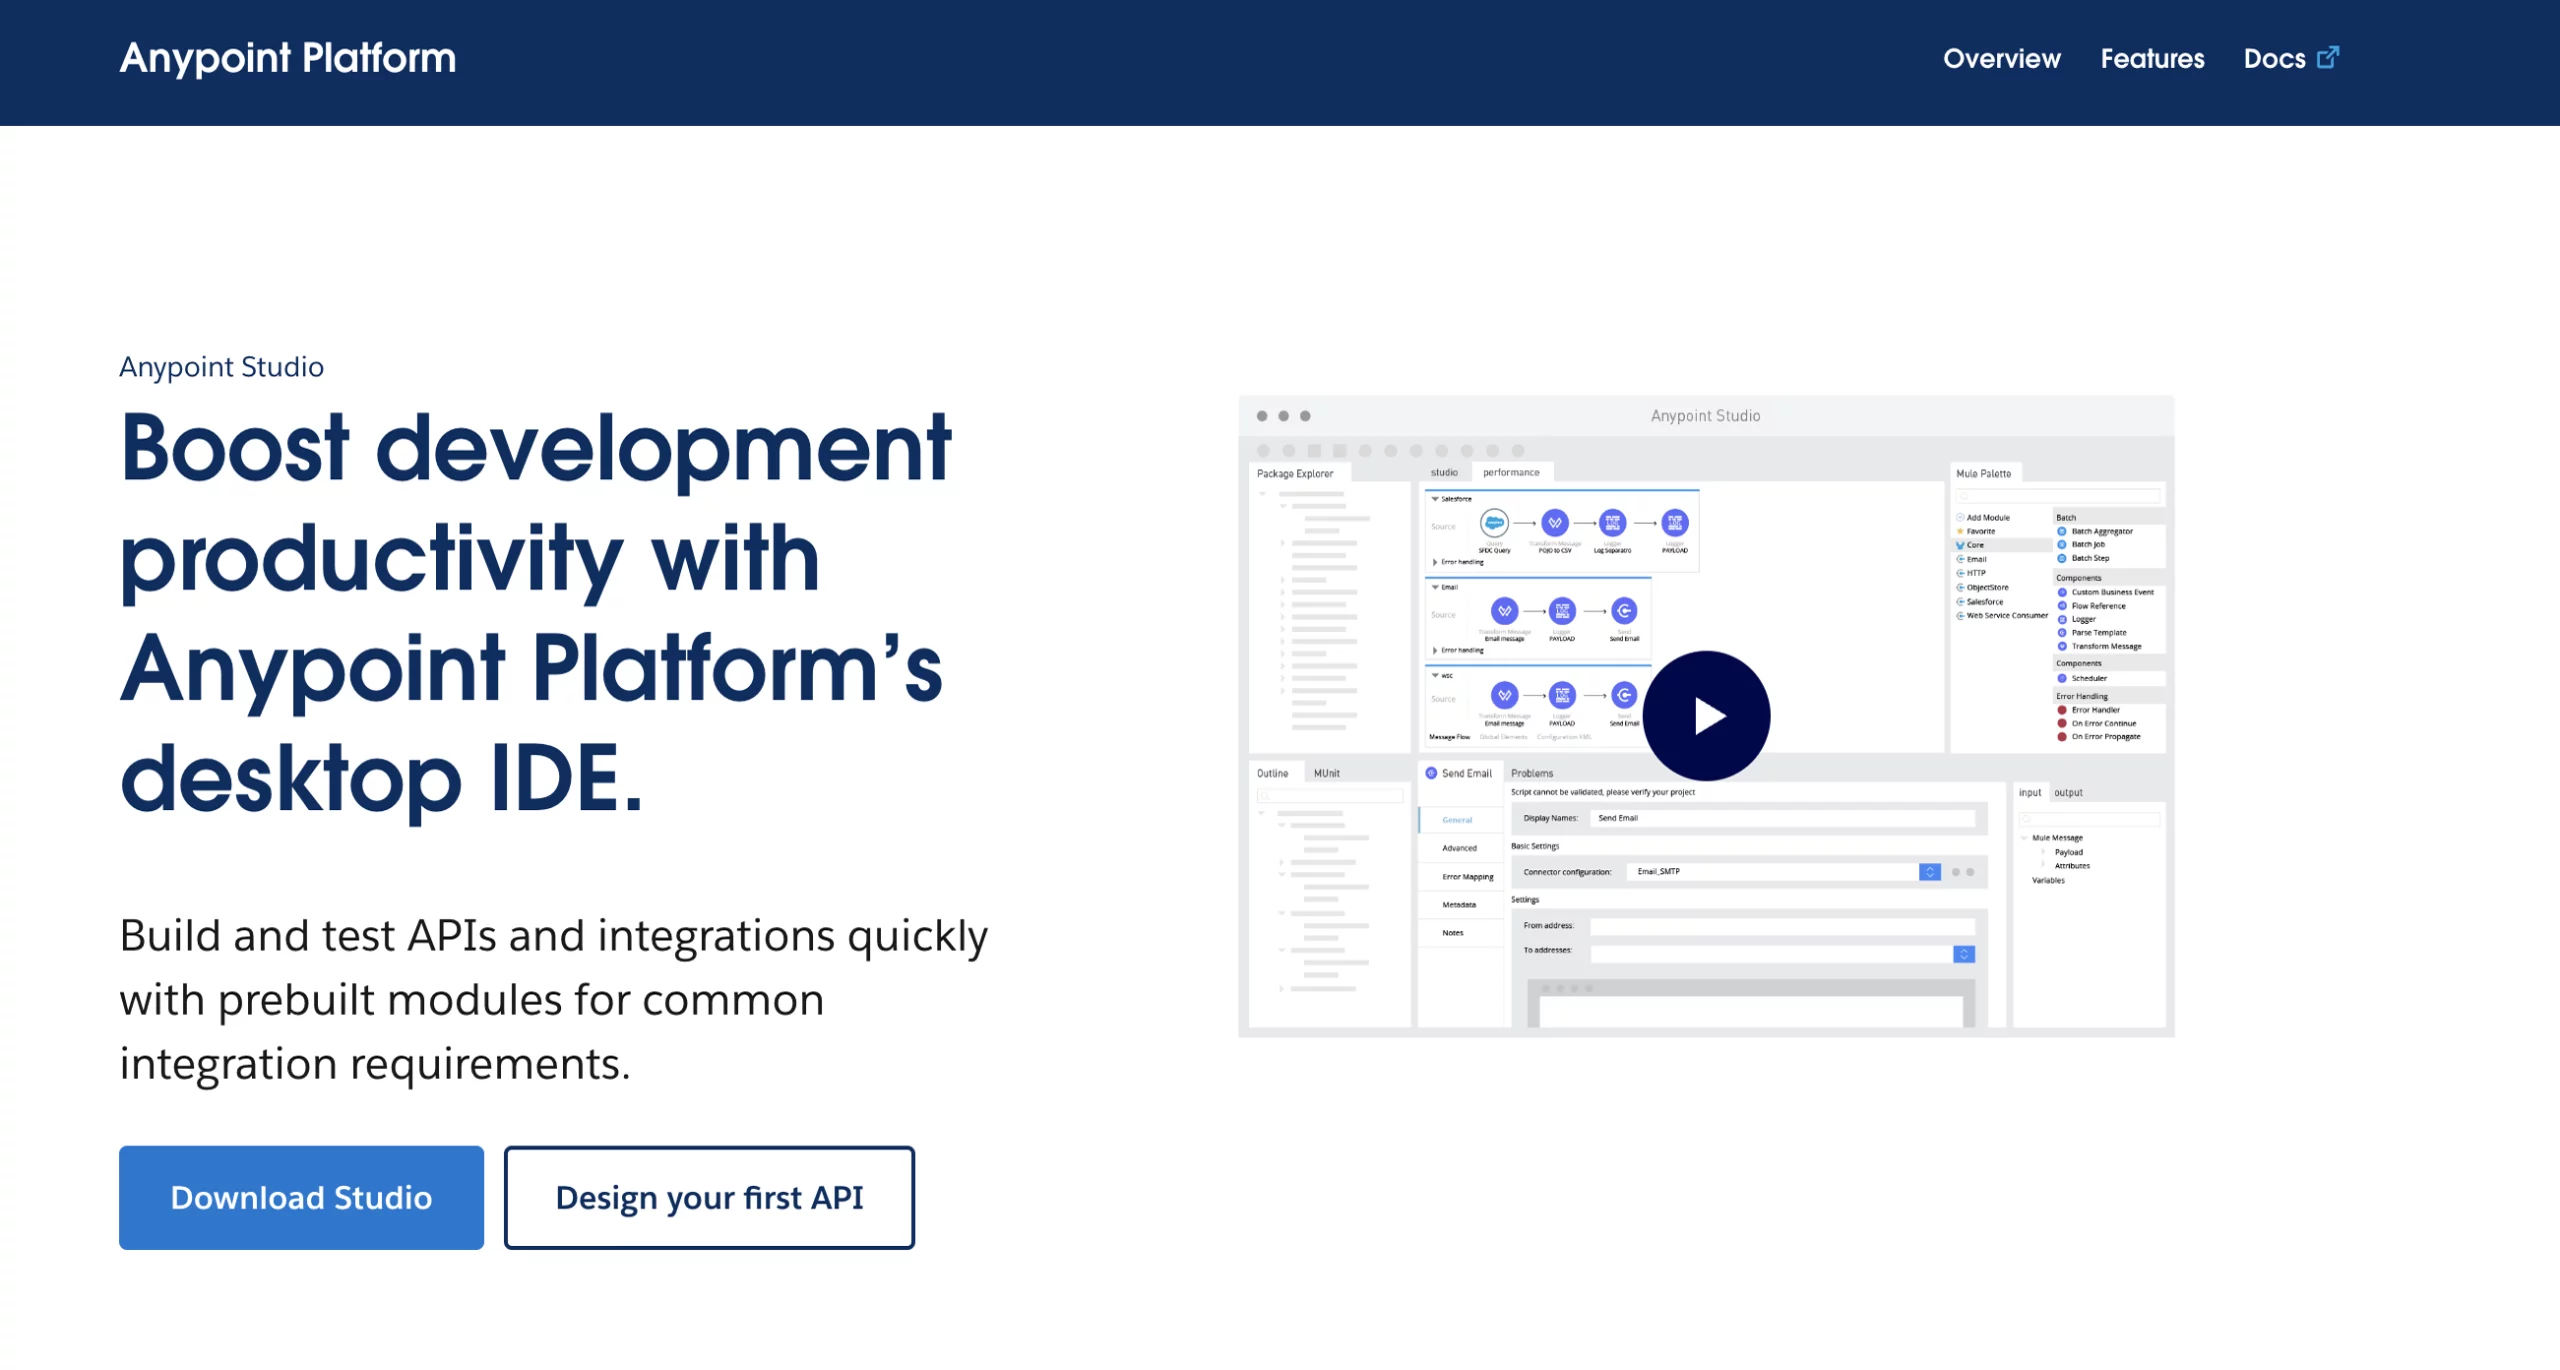
Step 2: Download Anypoint Studio
Next, head to mulesoft.com/studio to download Anypoint Studio, MuleSoft’s integrated development environment (IDE). Click the “Download ” button and choose your operating system. Fill in your details and click “Download .”
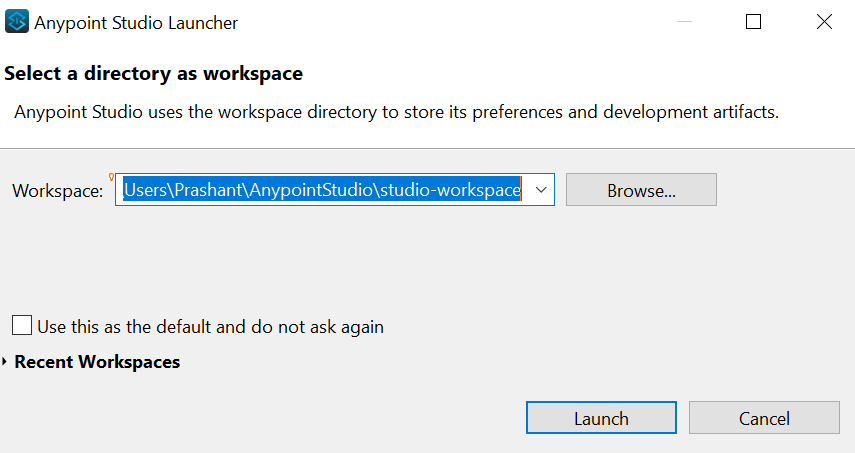
Once downloaded, install Anypoint Studio, and you’ll see a window like this. Select the workspace where you are going to work and click on “launch”.
After clicking “Launch,” Anypoint Studio will open, providing you with access to several essential sections for your development work:
1.Package Explorer: Located on the left side of the screen, this is where you can access all your folders and files.
2. Mule Palette: On the right side of the screen, you’ll discover the Mule Palette. Here, you’ll find modules and connectors that you can utilize in your workflow.
3. Mule Properties: Located at the bottom of the screen, this section allows you to configure connector properties and settings.
4. Console: This is where you can view logs and identify any errors in your code.
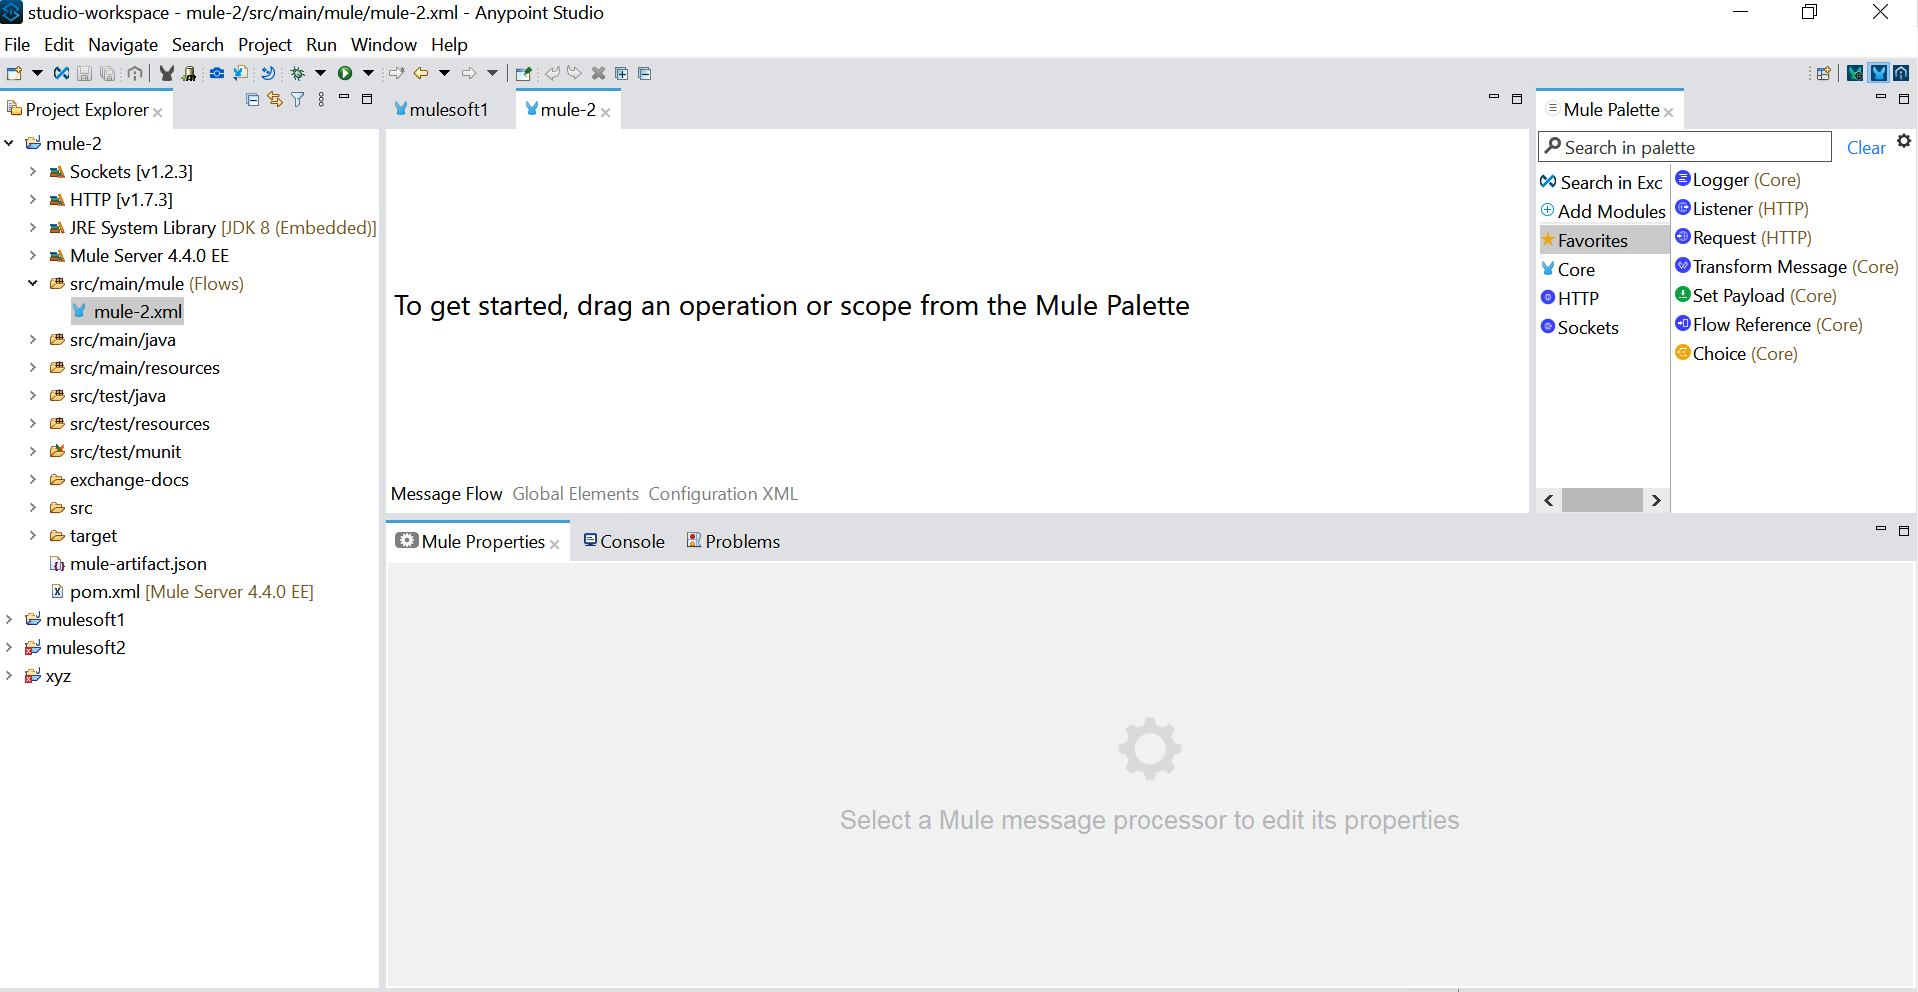
5. Canvas: At the center of the screen, you’ll find the canvas, which serves as your workspace for building and editing your code.
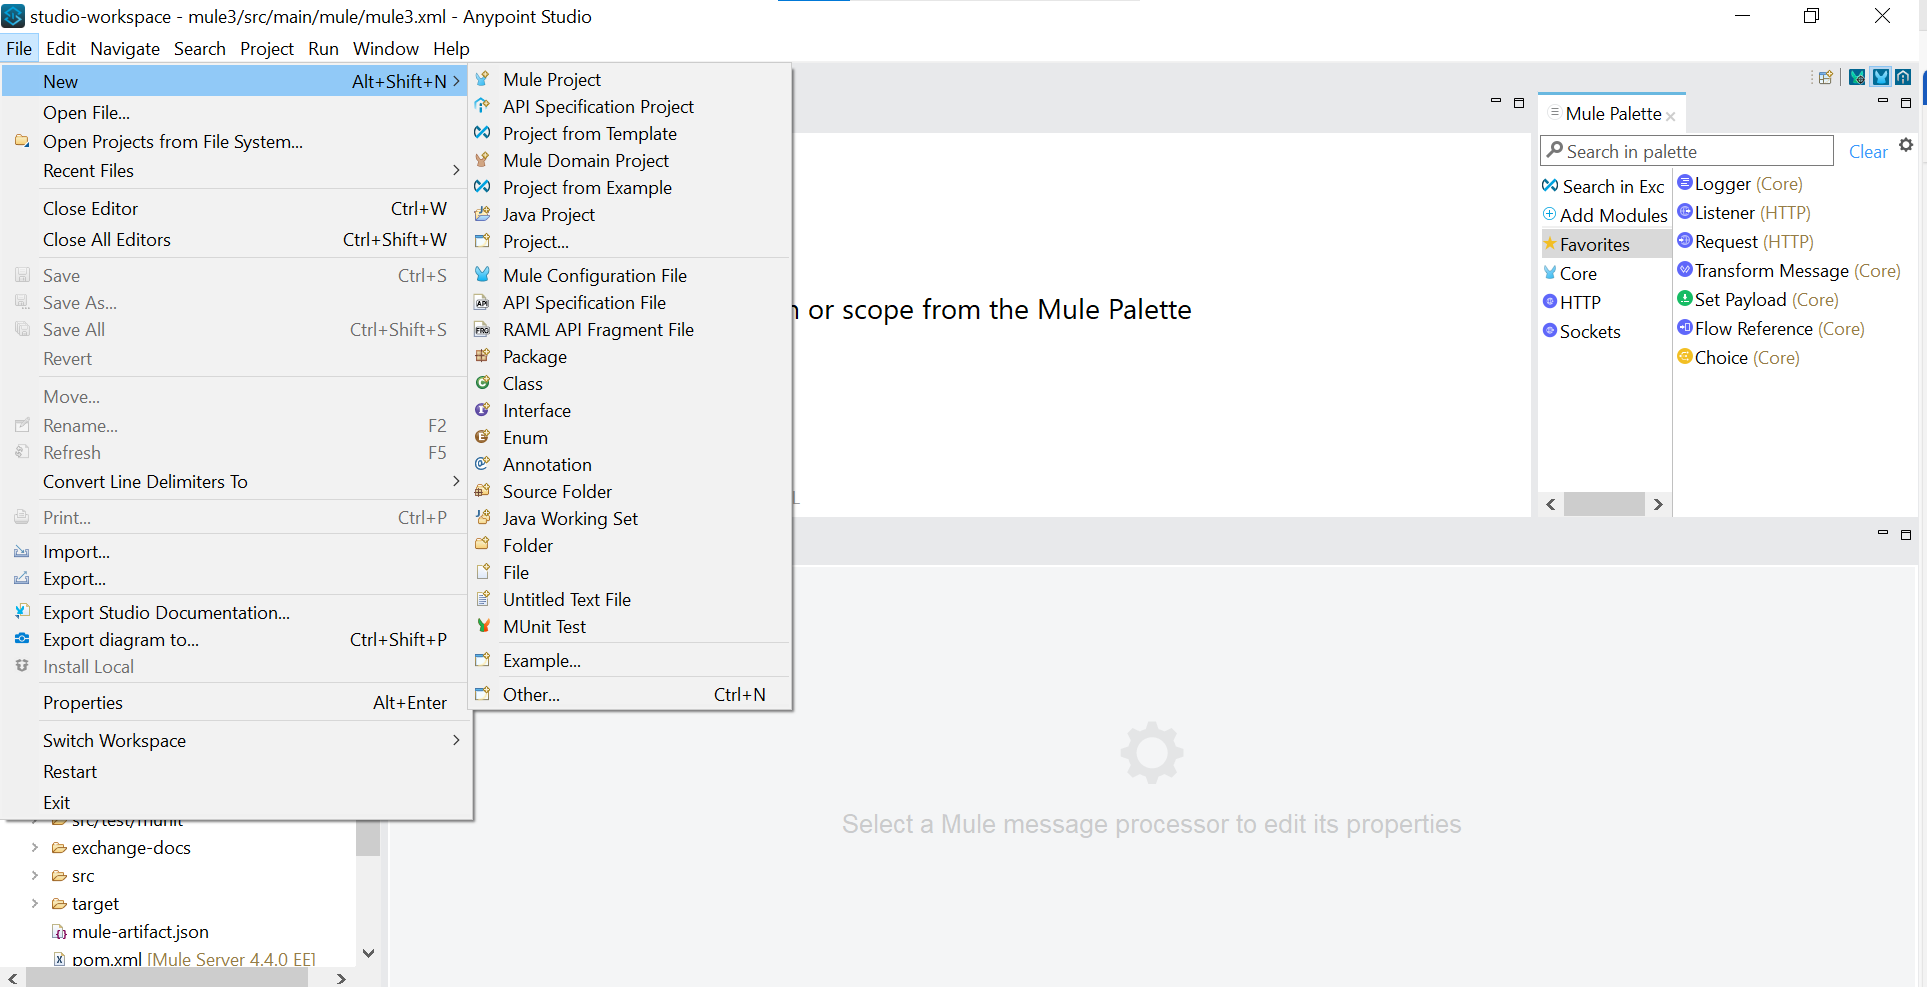
Step 3: Create a New Mule Project
To get started, create a new Mule project by clicking “Create a Mule Project” on the left side of the screen. Enter a project name (e.g.,”Mulsoft – Project”) and click “Finish.”
Step 4: Configure Components in Anypoint Studio
Drag and drop an HTTP Listener and Set payload from the Mule Palette onto the canvas.
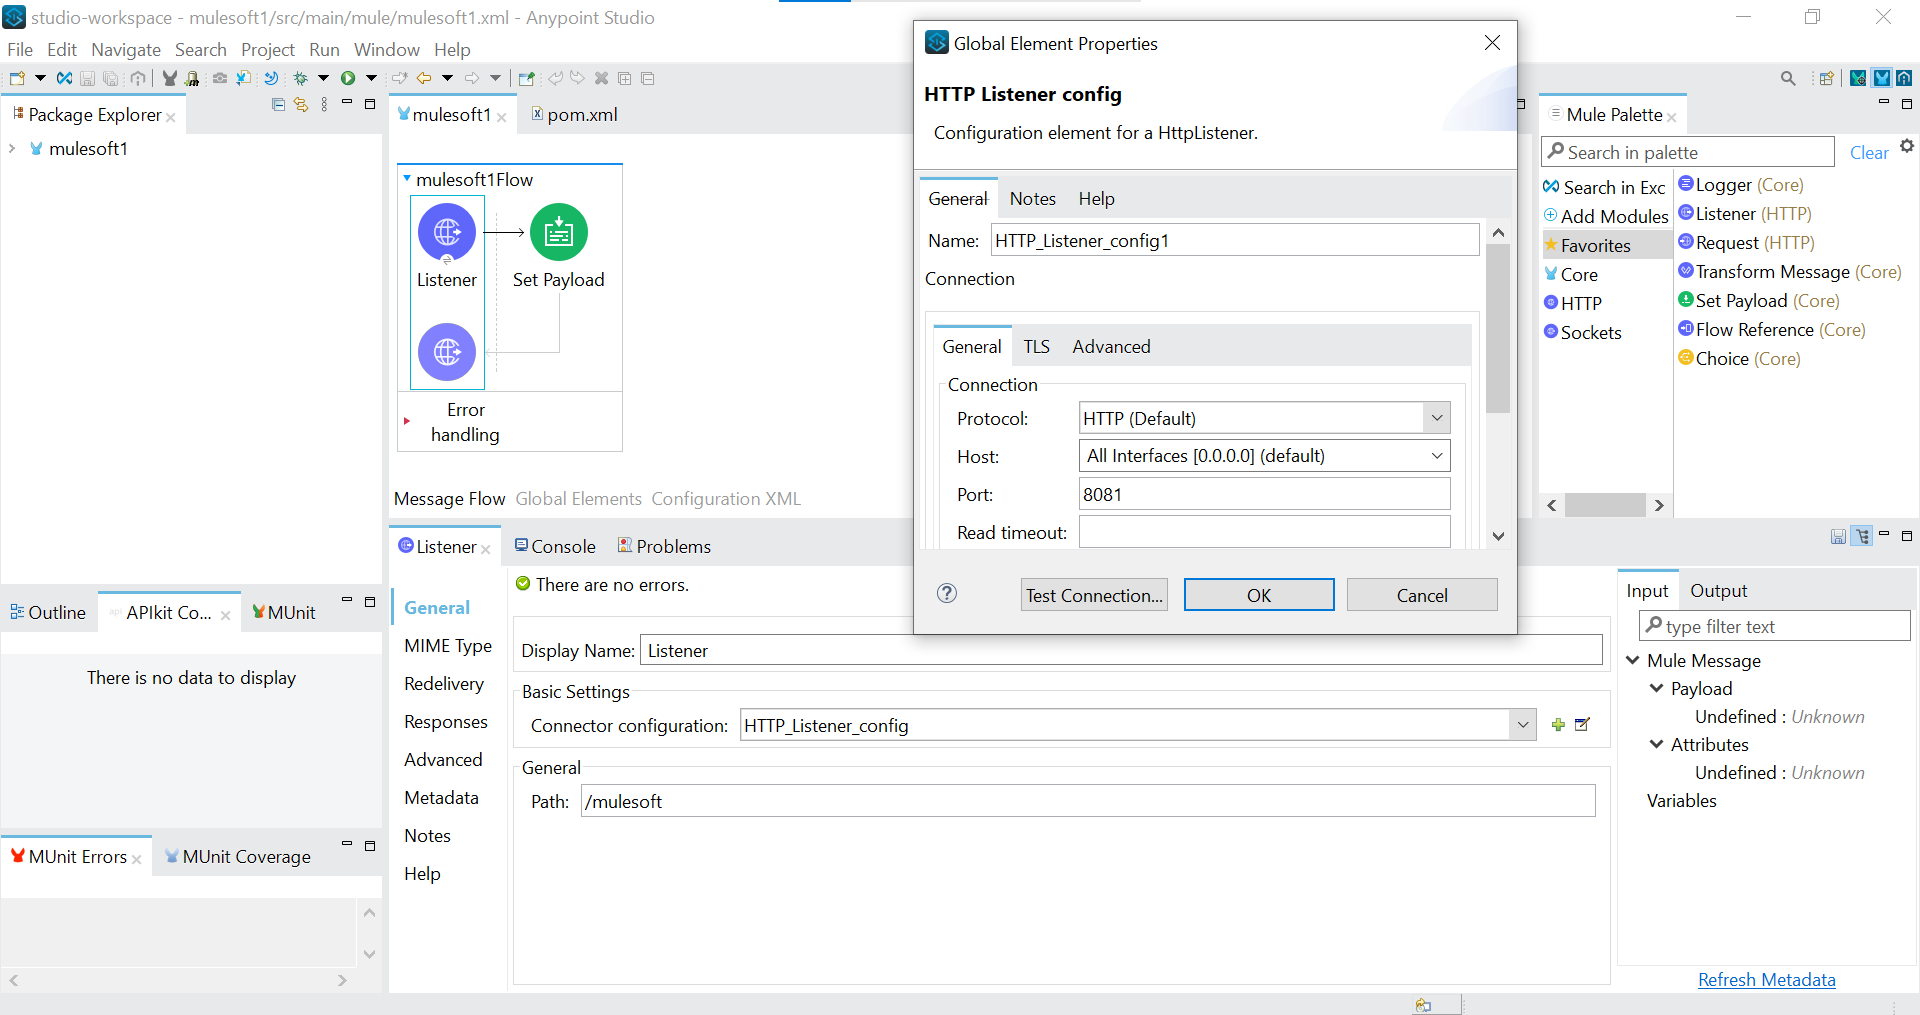
Configure these components as per your project requirements.
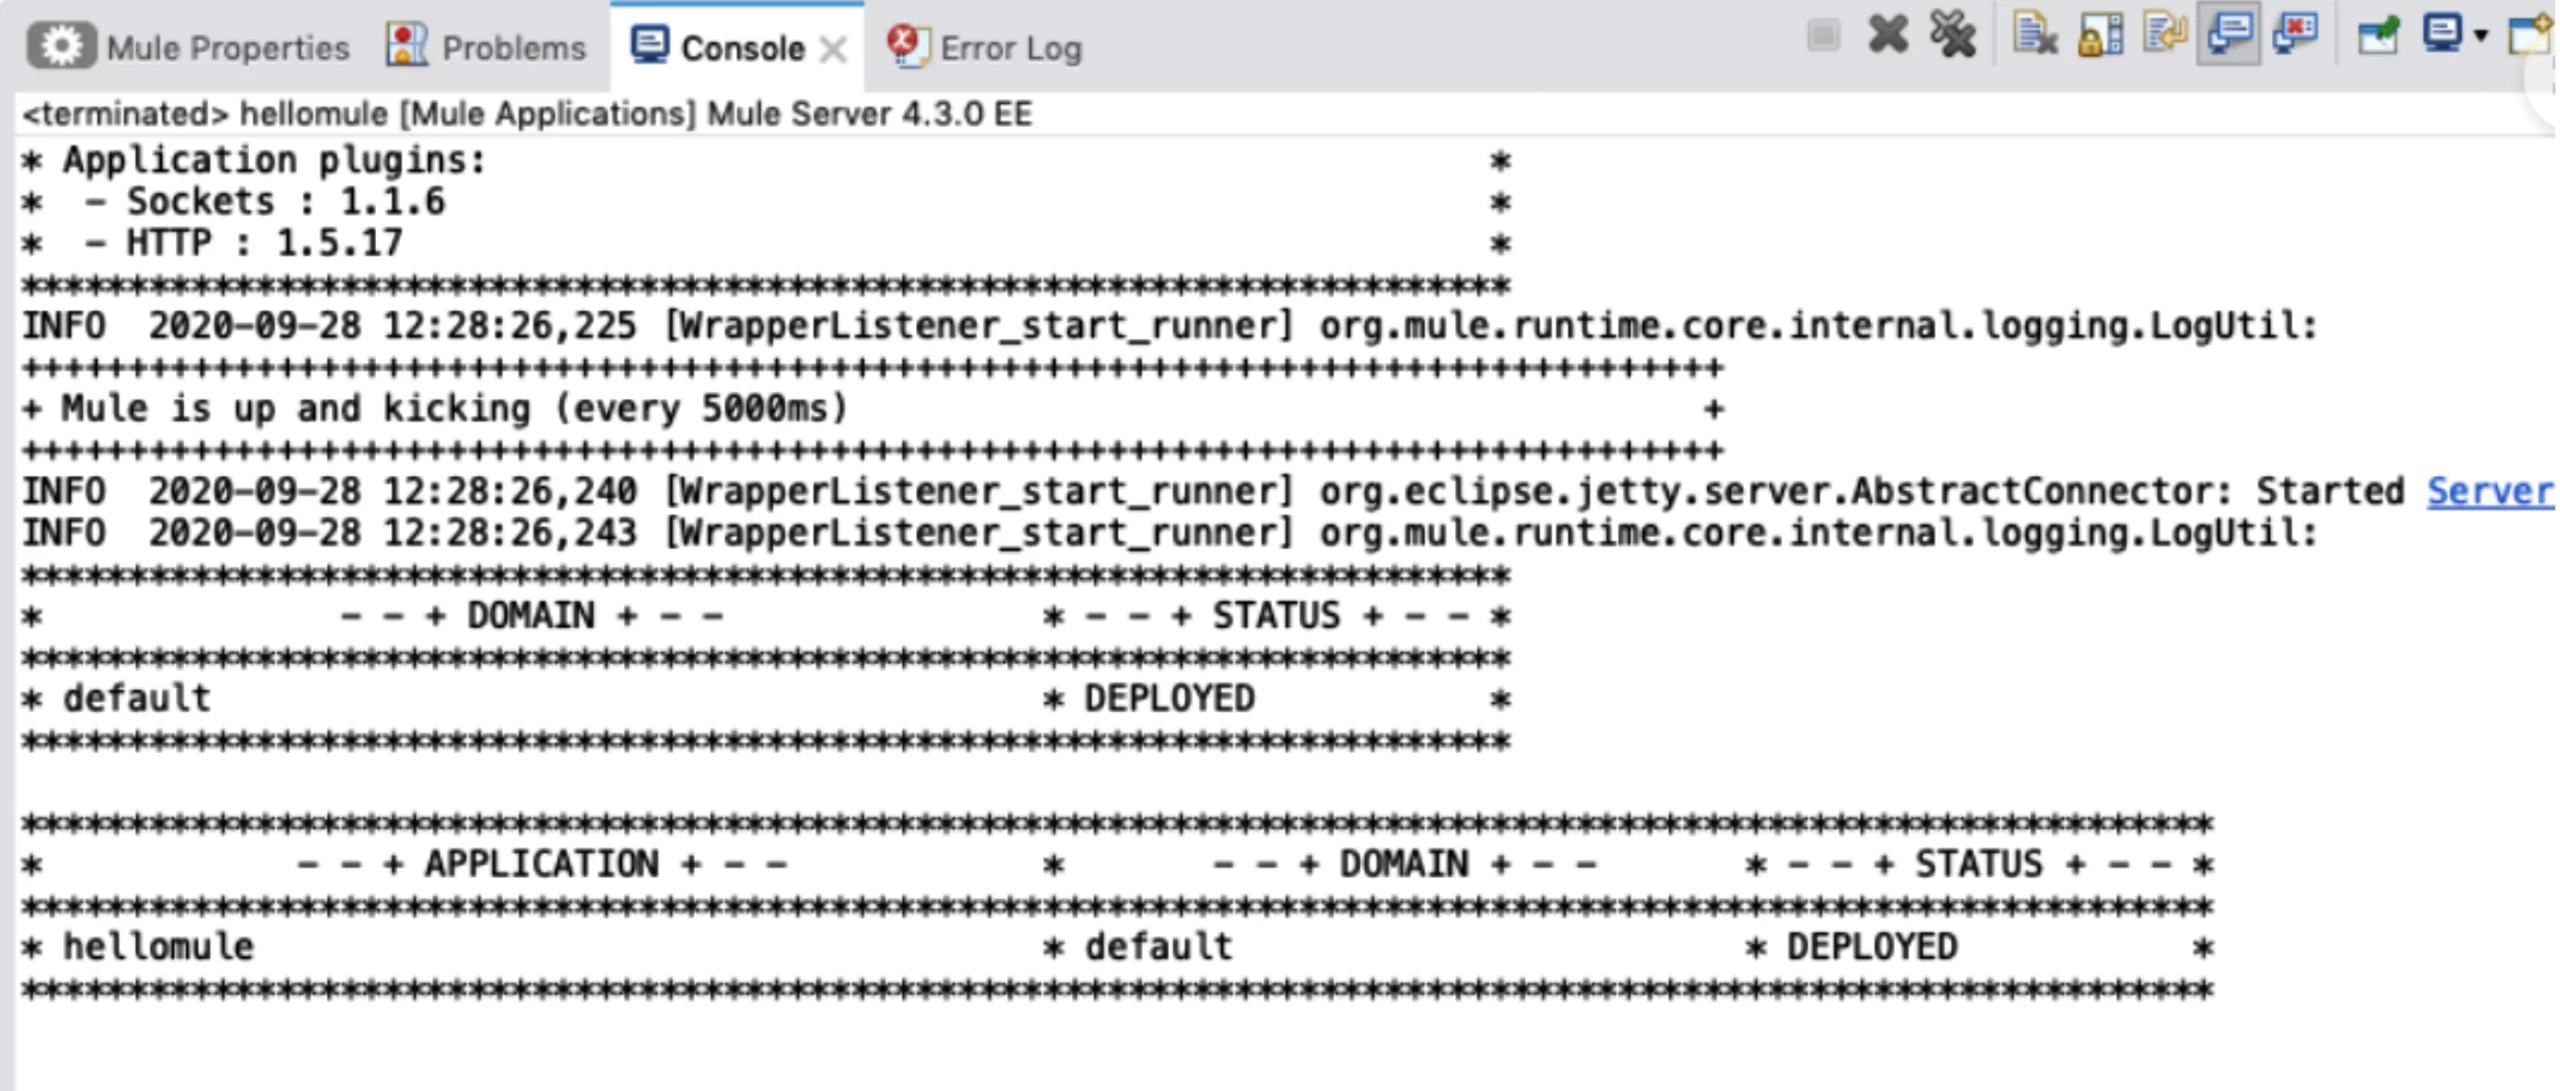
Step 5: Local Testing
Run the Mule application locally to ensure it functions correctly.
Step 6: Prepare for Deployment
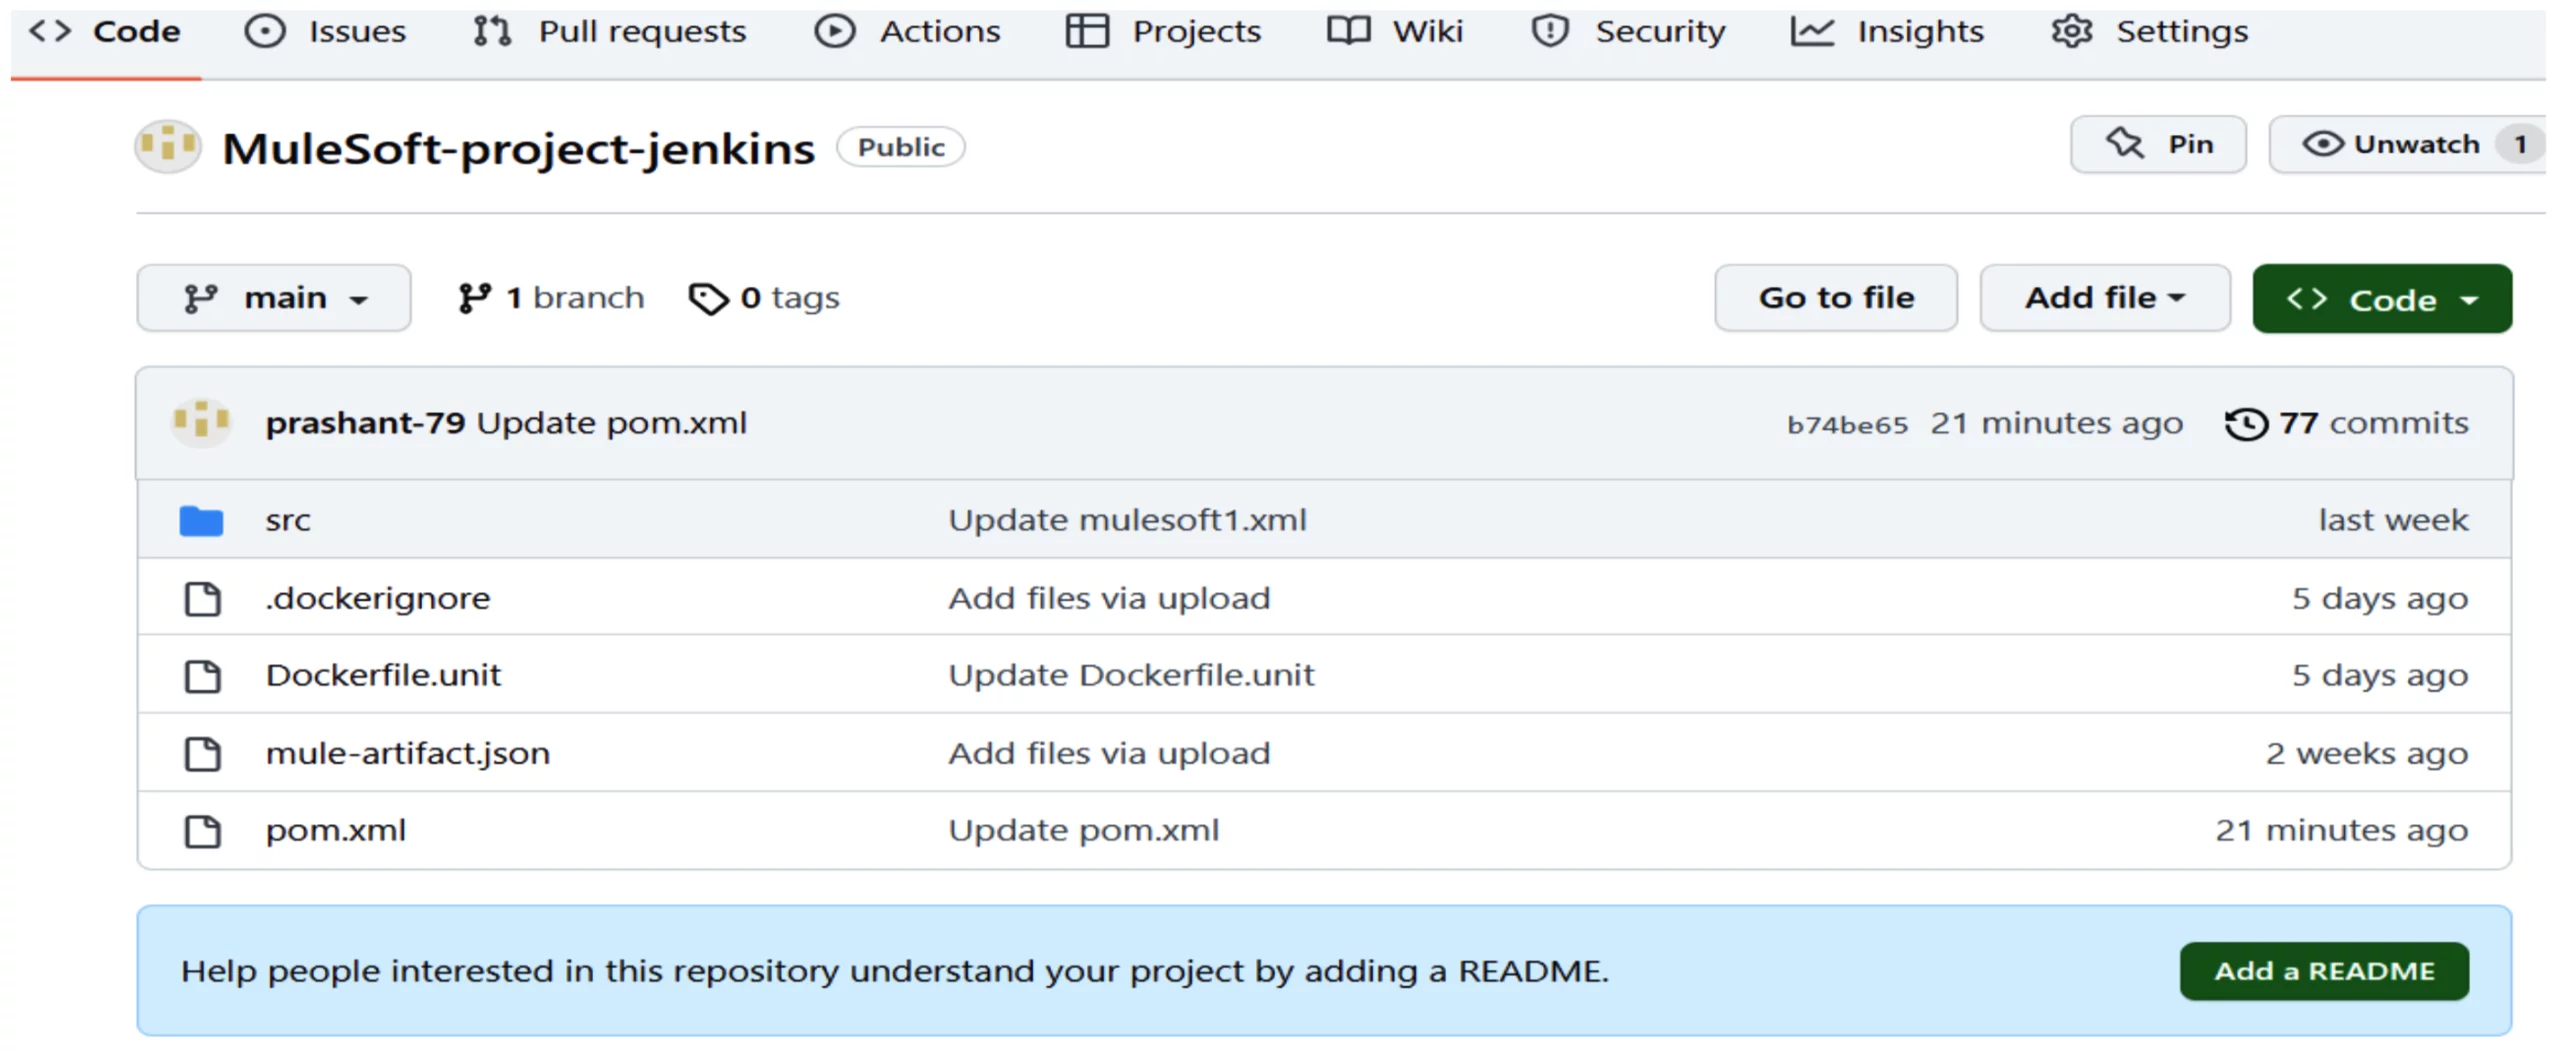
Identify and copy the essential files needed for deploying your MuleSoft application through Jenkins. These typically include files such as src, mule-artifact.json, and pom.xml. Create a project directory on your local machine and place the MuleSoft application files within it.
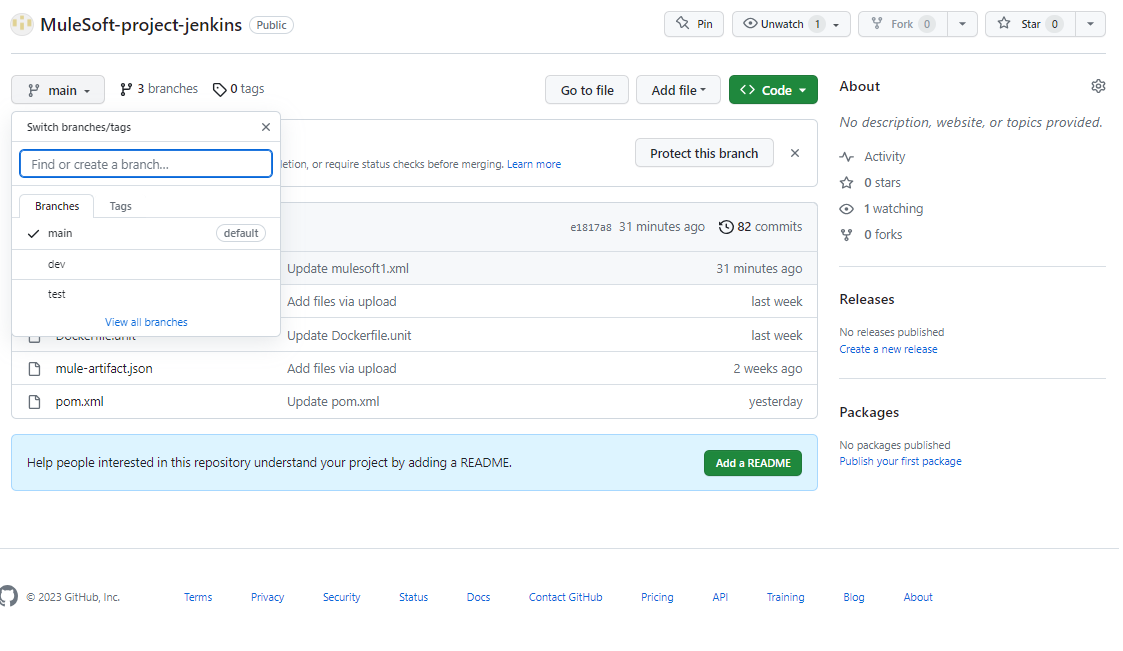
Step7: Version Control Setup
Install Git on your local system if you haven’t already. Organize your MuleSoft project by creating a dedicated directory for it.
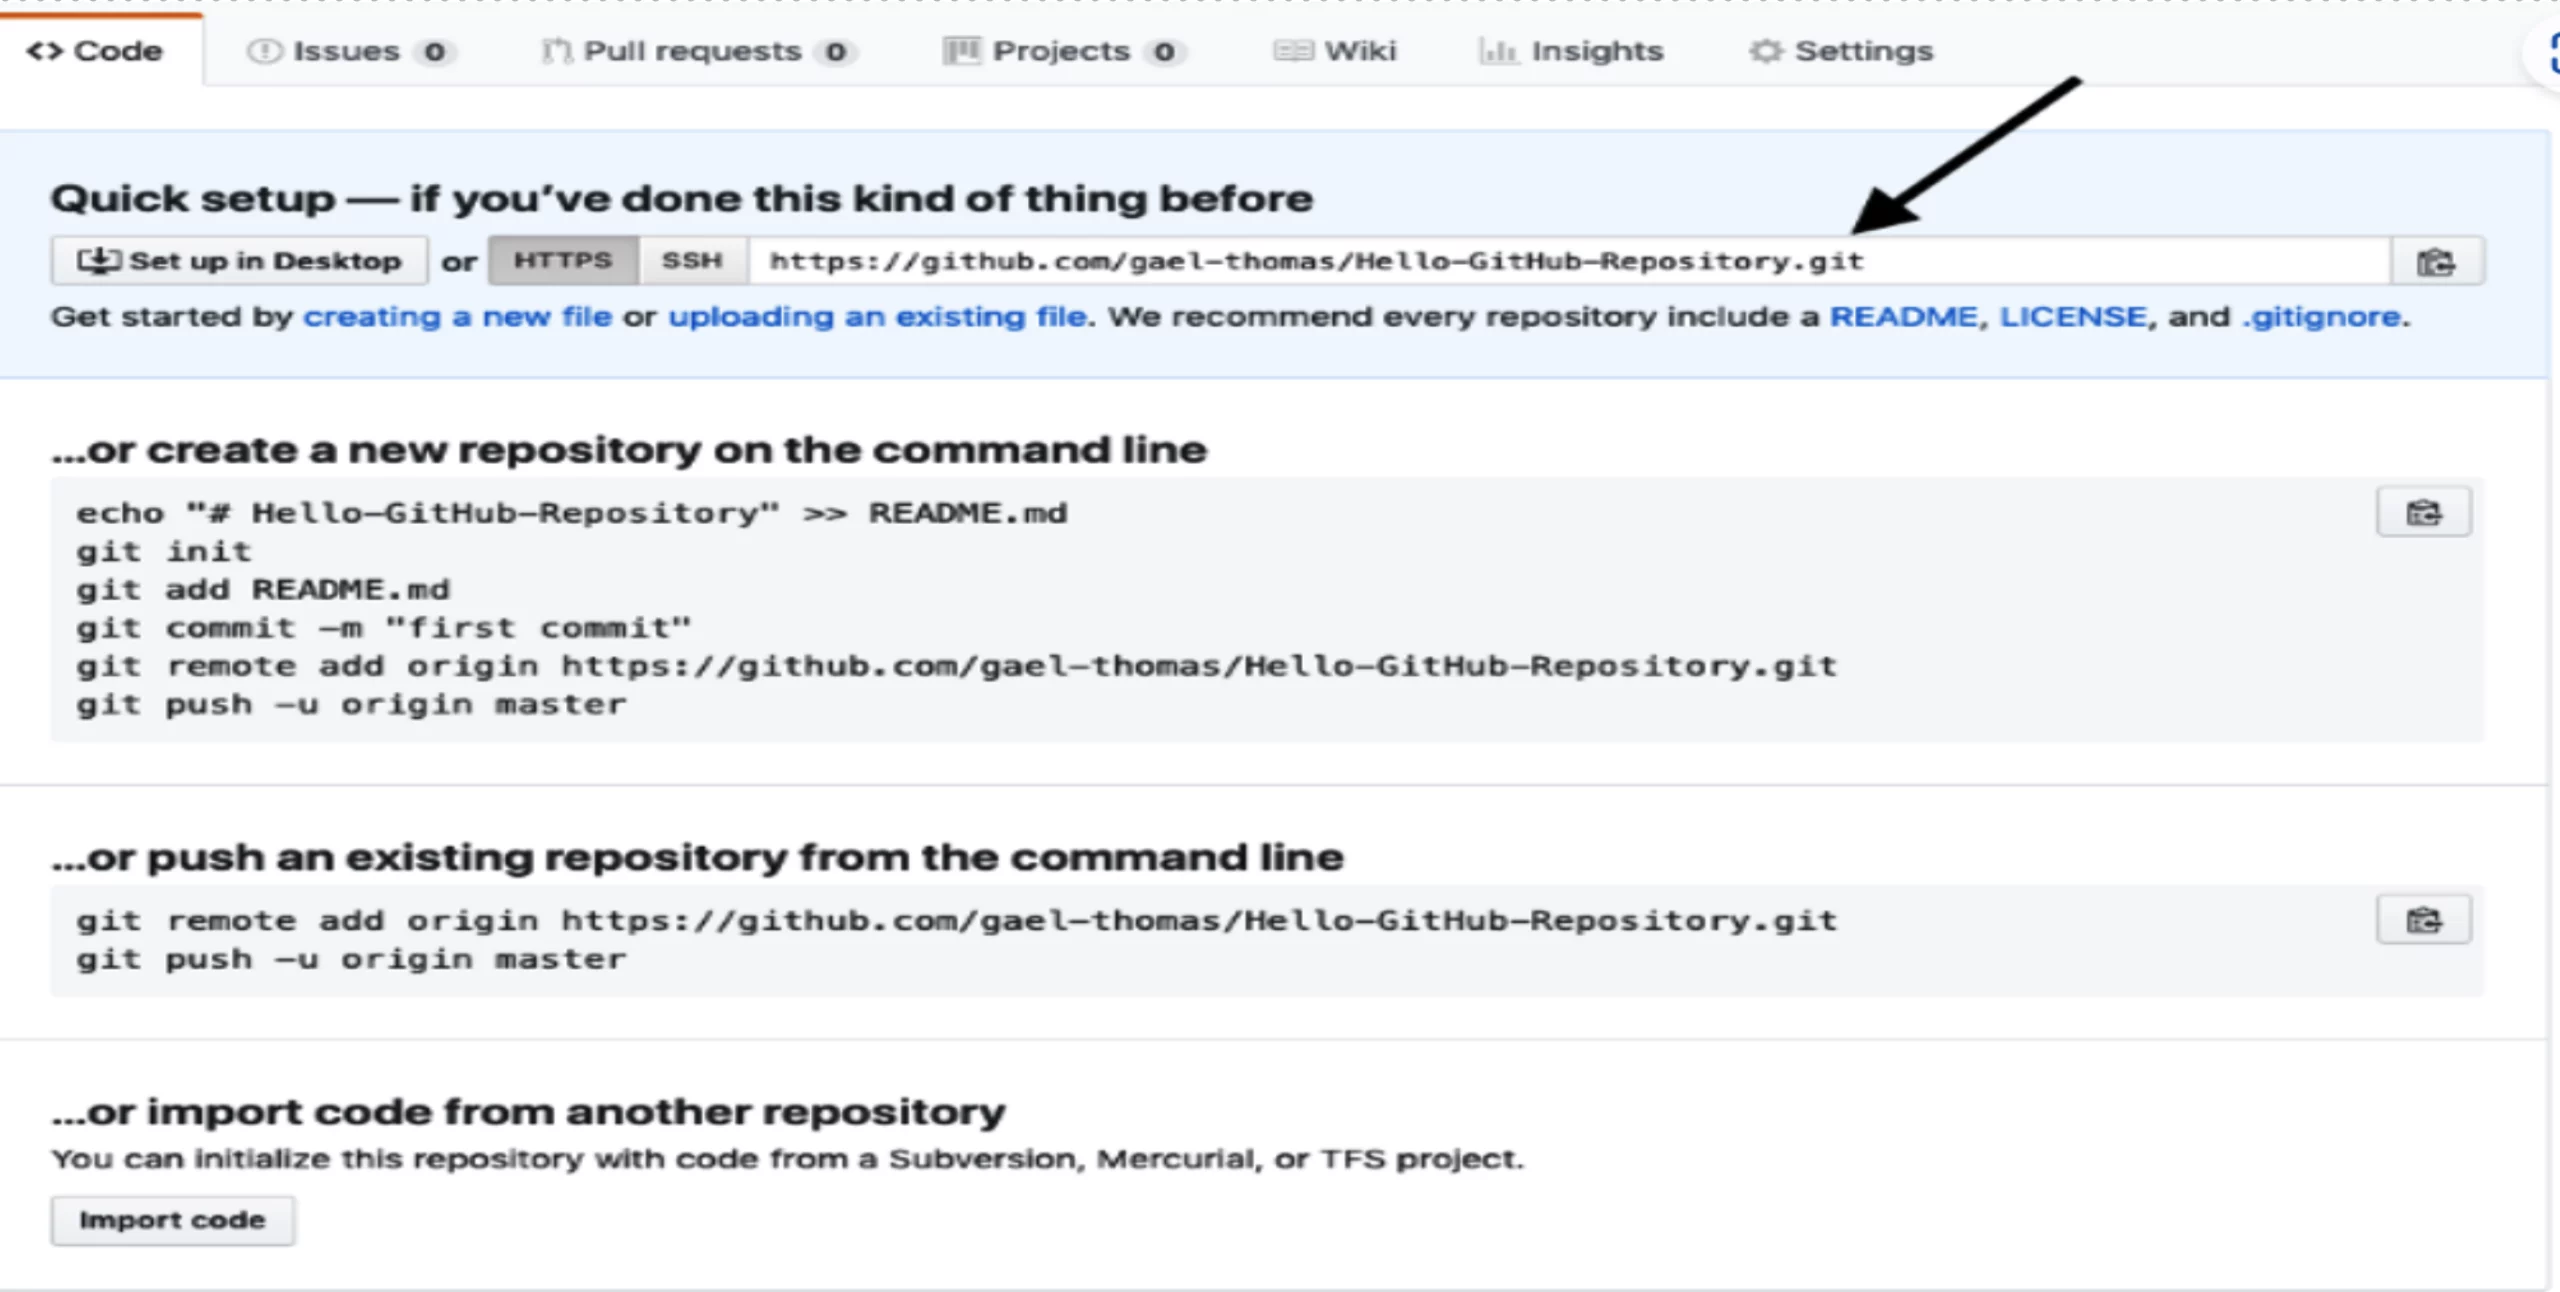
Additionally, install Git Bash, a command-line tool for using Git effectively. Create a new GitHub repository with a suitable name, for example, “mulesoft-project.” Use Git Bash to push your project’s code to the newly created GitHub repository by following the provided instructions.
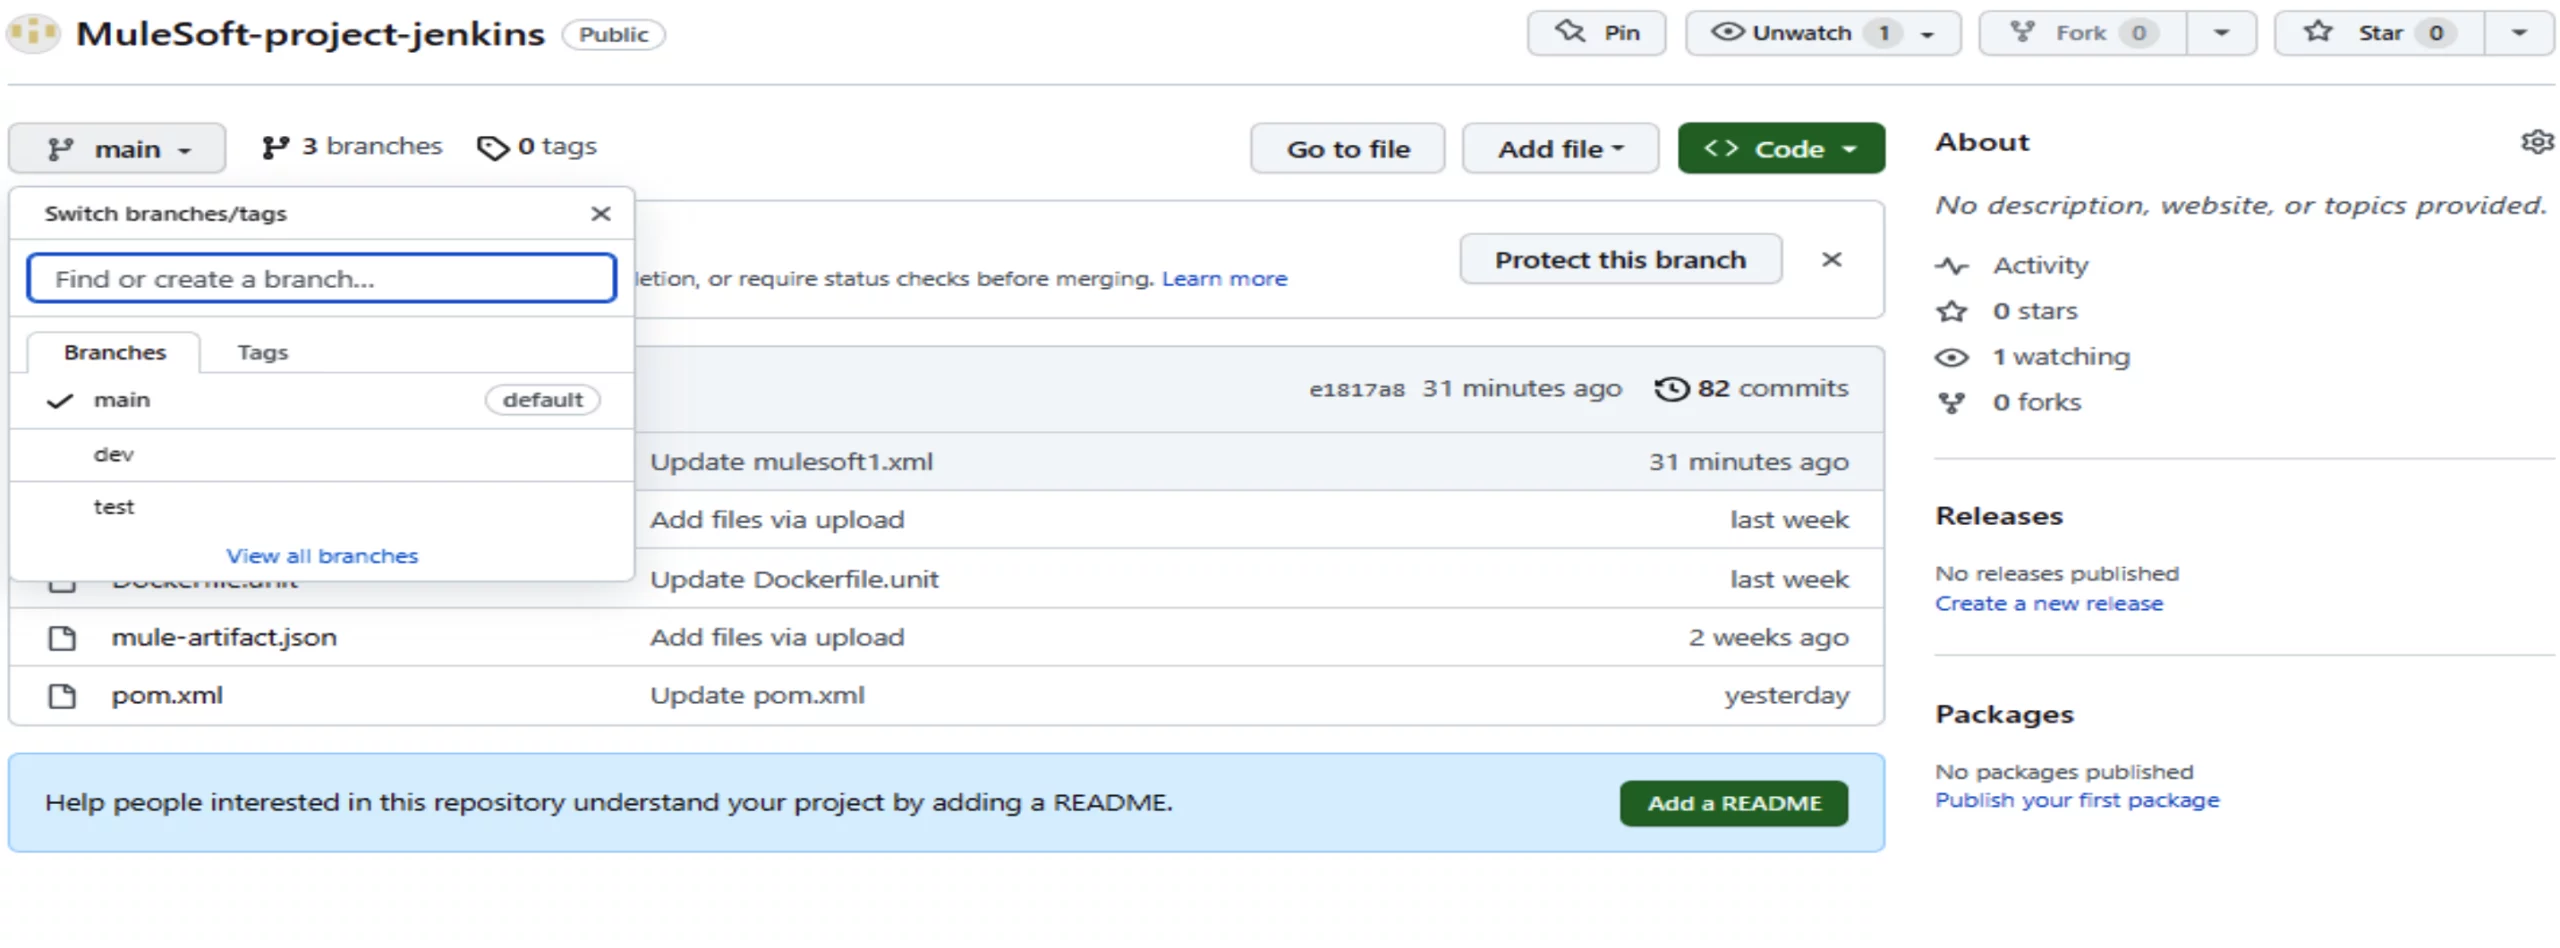
Step8: Branch Management
Customize your project’s branch structure as needed to align with your project requirements.
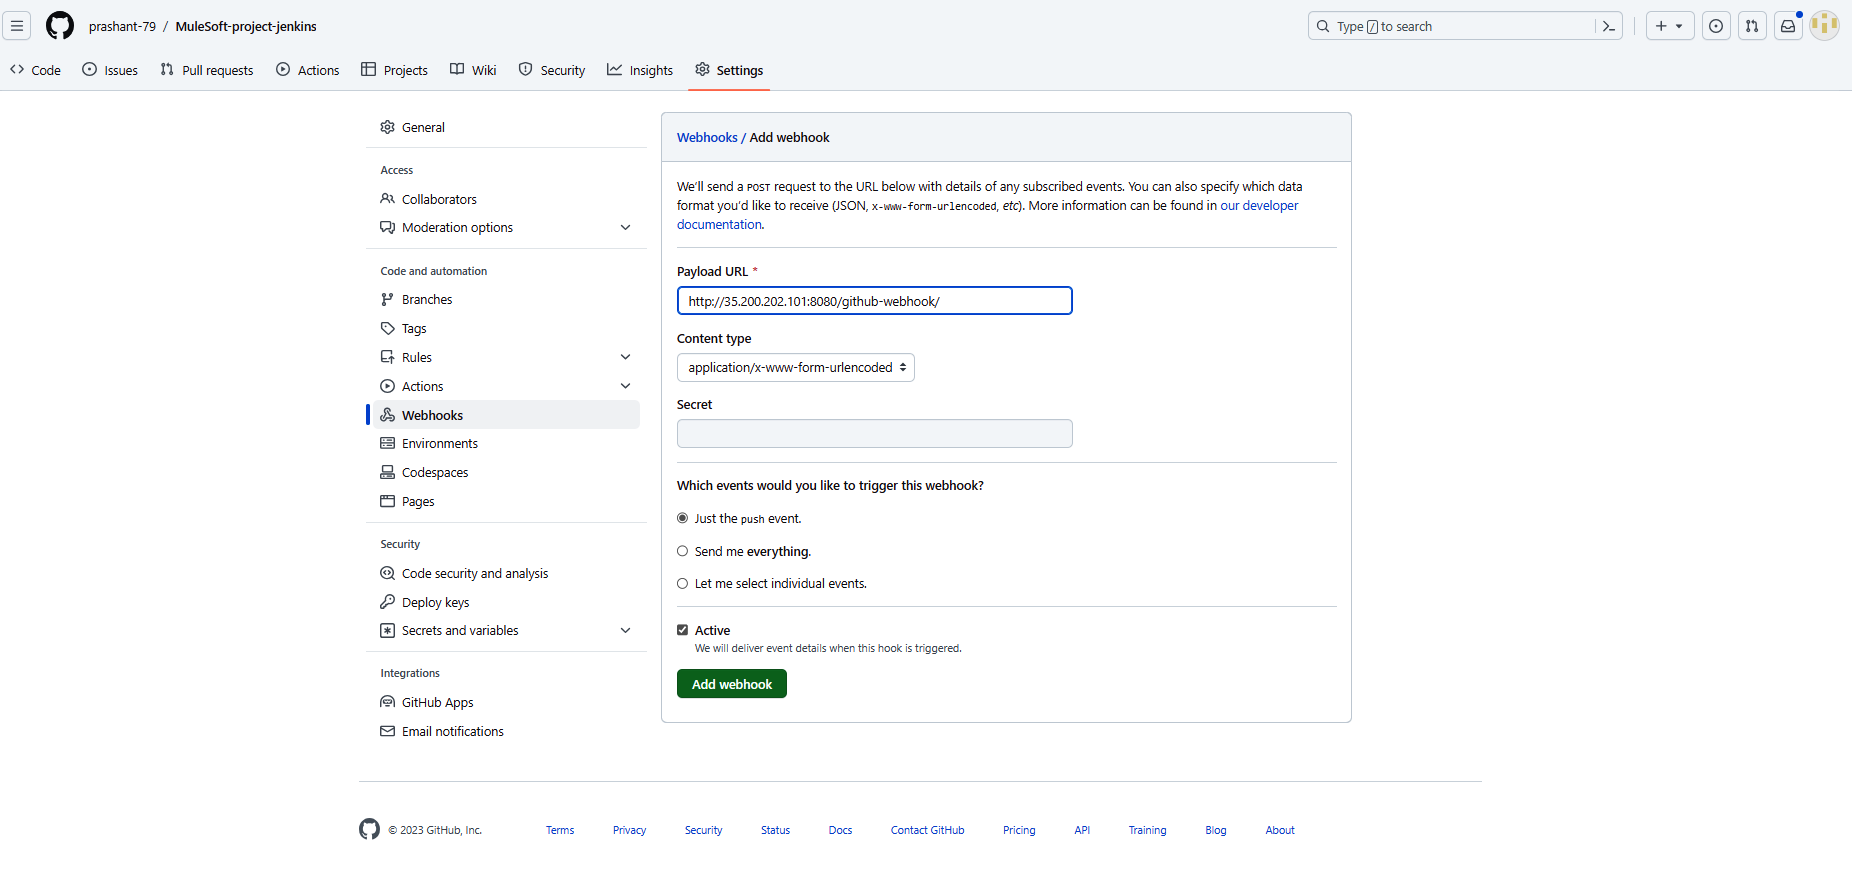
Step 9: GitHub Webhook
Set up a webhook on GitHub to facilitate automated actions and integrations as part of your development workflow.
Conclusion:
In this blog, we’ve covered the initial steps of setting up your development environment for MuleSoft application development. Stay tuned for the next blogs in this series, where we’ll delve into automating deployments and integrating Jenkins into your workflow. If you would like to know how CloudFulcrum can help your organization, contact us or email us at support@cloudfulcrum.com.