In the second part of our series (read the third part here), we delve deeper into the critical aspects of the development lifecycle that are essential for building robust MuleSoft applications. This blog will guide you through the process of effective version control using Git, setting up Jenkins for continuous integration and continuous deployment (CI/CD), and ensuring code quality with SonarQube.
If you missed the first part on getting started with DevOps for MuleSoft application (Click Here) .
Setting Up Jenkins and SonarQube
Before we dive into the Jenkins and SonarQube setup, let’s make sure you have everything you need:
1. Update Package Repository
To update the package repository on your system, you can use the following command:

2. Install Java
Jenkins relies on Java, so let’s install OpenJDK 11:

3. Install Jenkins
To setup Jenkins and make it operational, add Jenkins Repository and GPG Key:

Enable Jenkins Repository and Install Jenkins. After adding the repository, update your system’s APT cache:

4. Verify Jenkins Installation
Check the status of the Jenkins service:

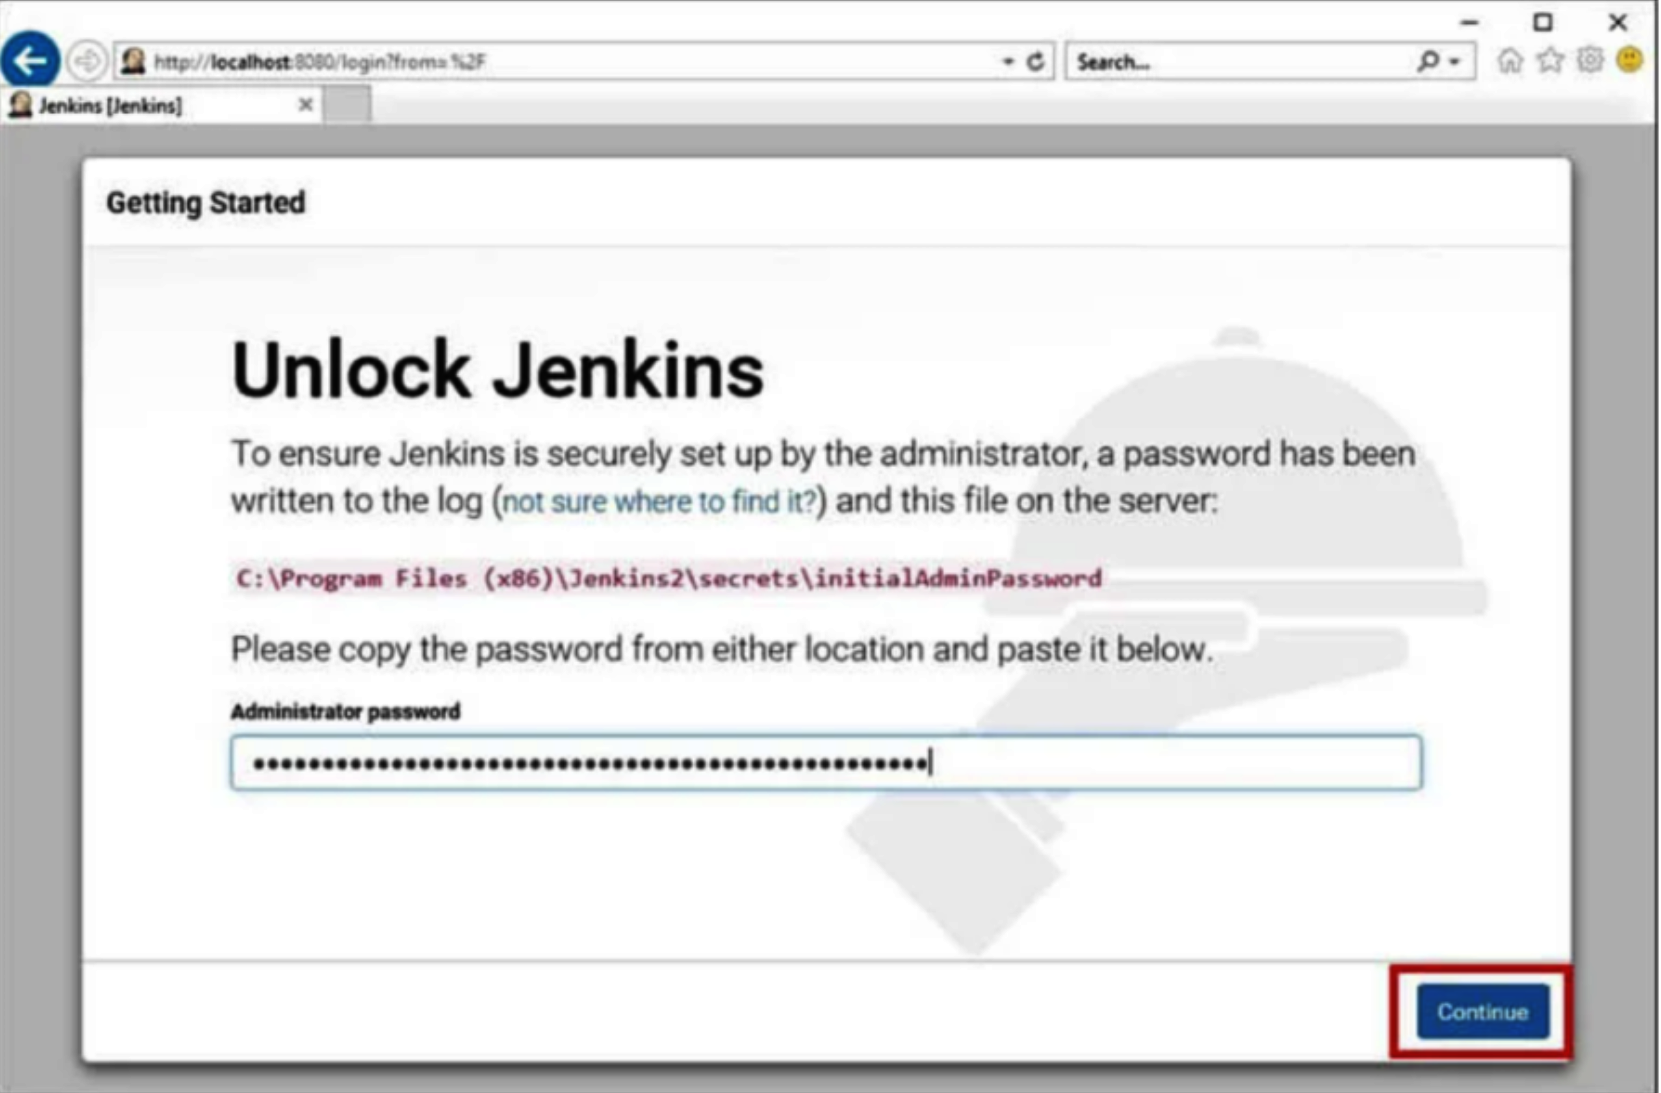
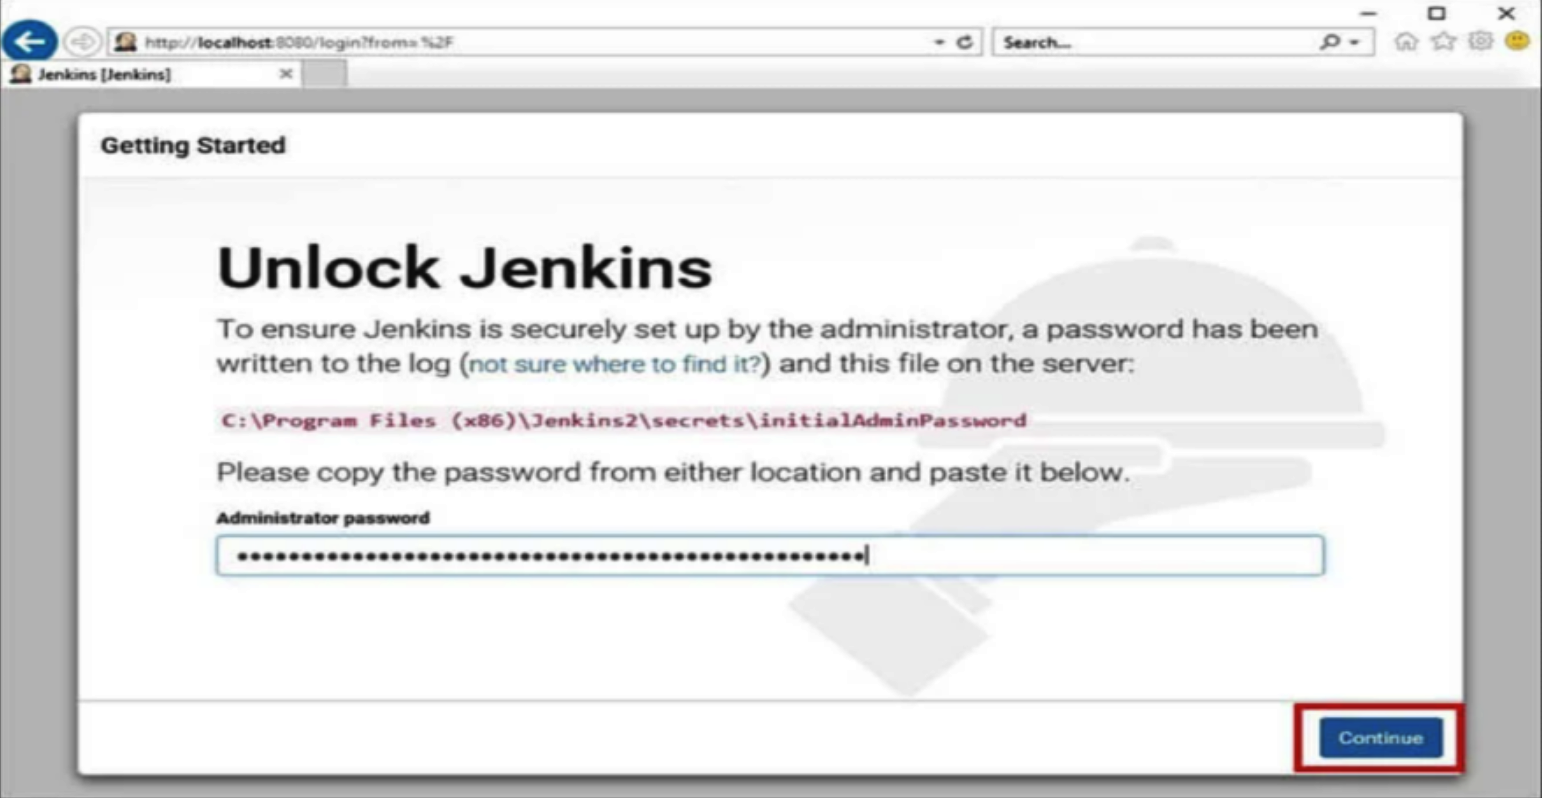
5. Access Jenkins Dashboard
You can access the Jenkins dashboard through your server’s IP address on port 8080. Open your web browser and navigate to:

With Jenkins up and running, let’s prepare for creating a pipeline for your MuleSoft project.
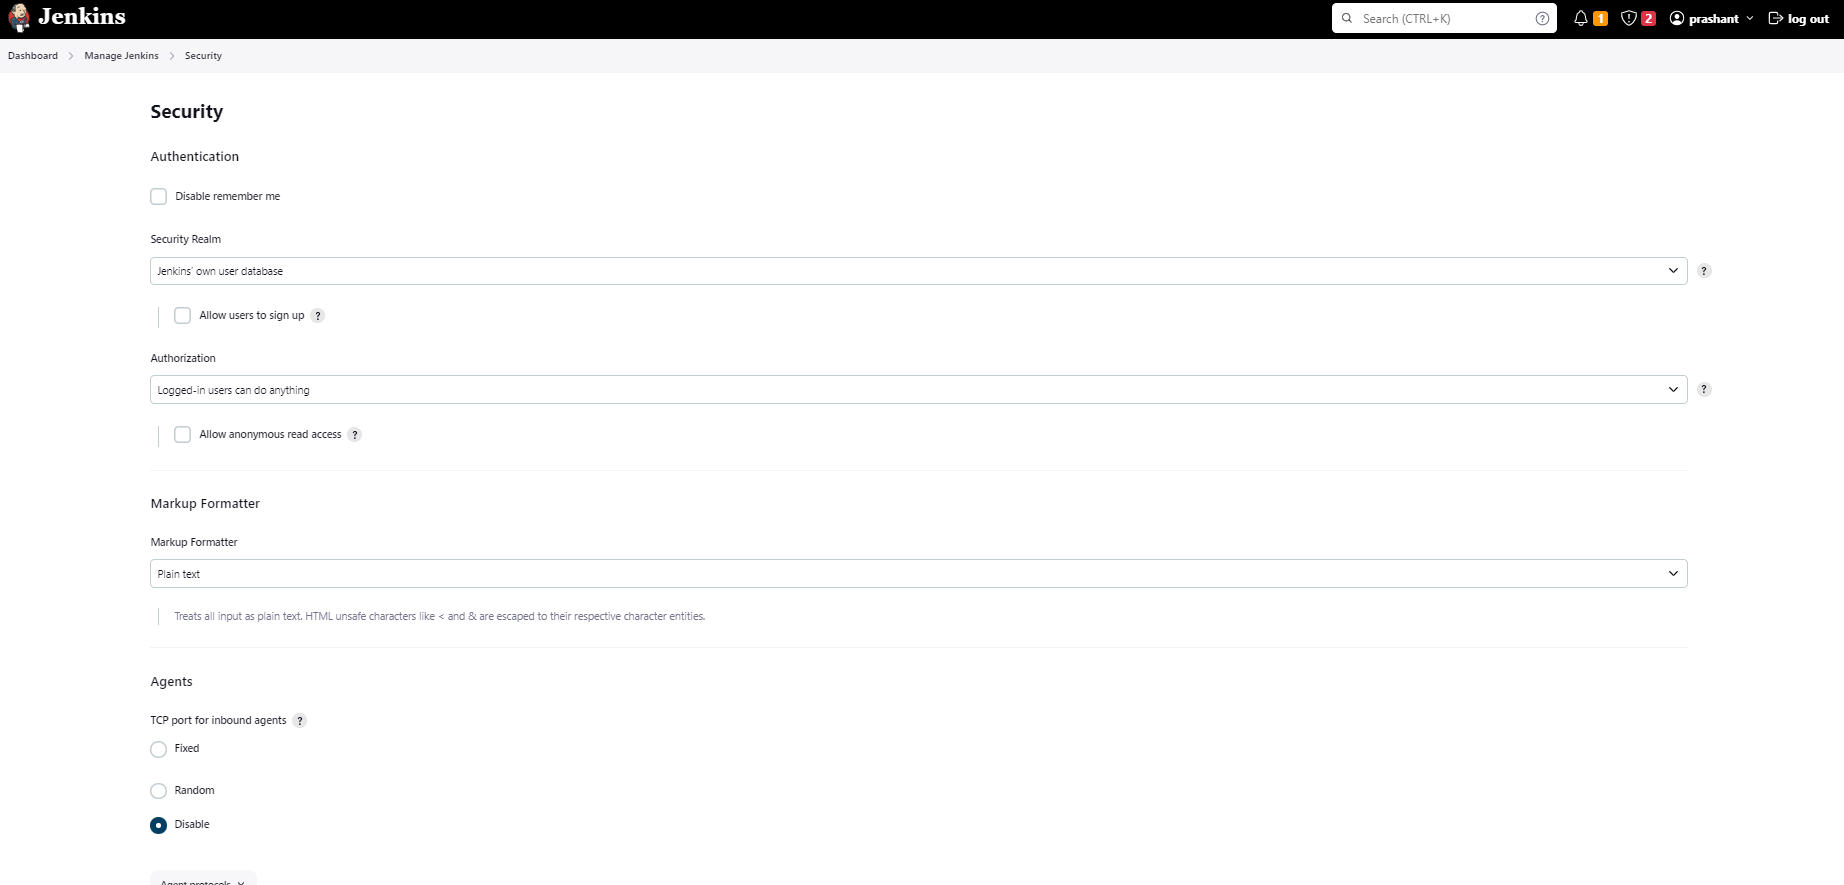
6. Configure Jenkins Security and User Access
Before creating a pipeline, it’s essential to configure security settings and user access within Jenkins. This ensures that your CI/CD environment is secure.
7. Prerequisites for Running the Pipeline
Before running your MuleSoft pipeline, ensure the following prerequisites are met:
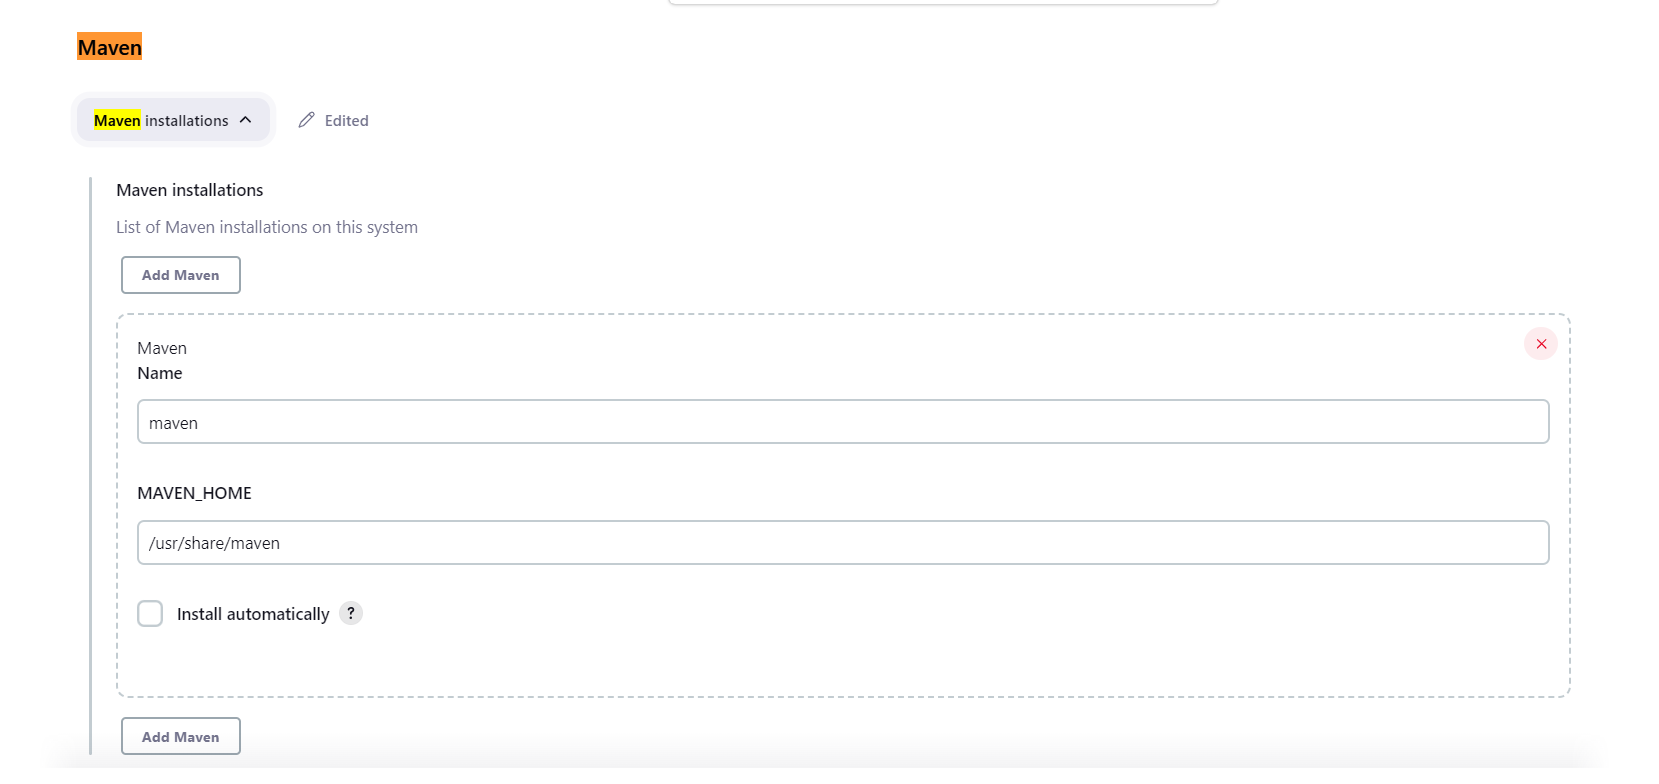
- Maven: Maven should be installed on your system.
- Environment Configuration: Make sure the environment path for Java and Maven is correctly configured.
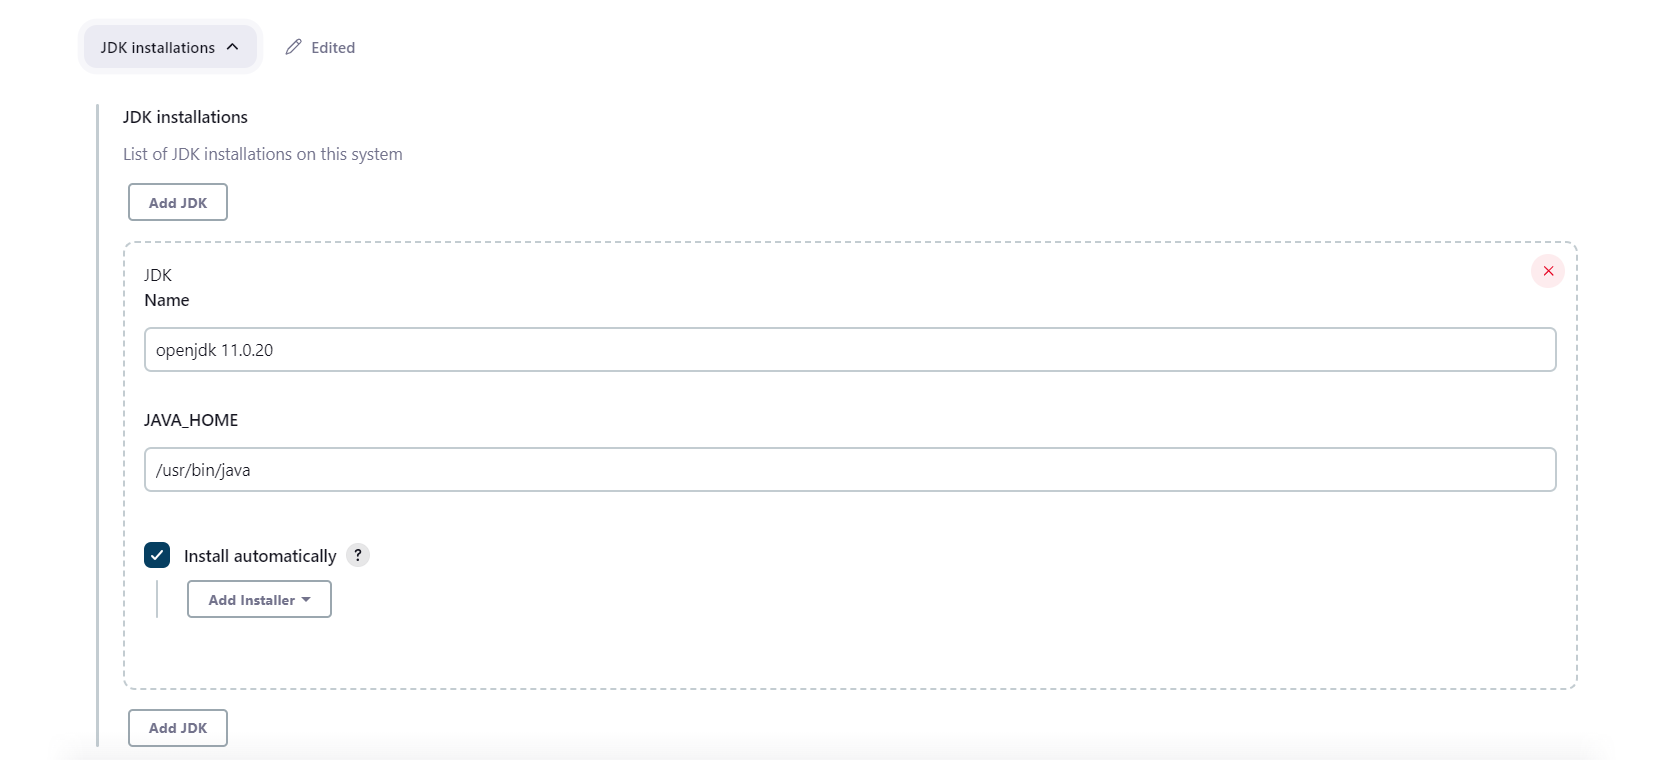
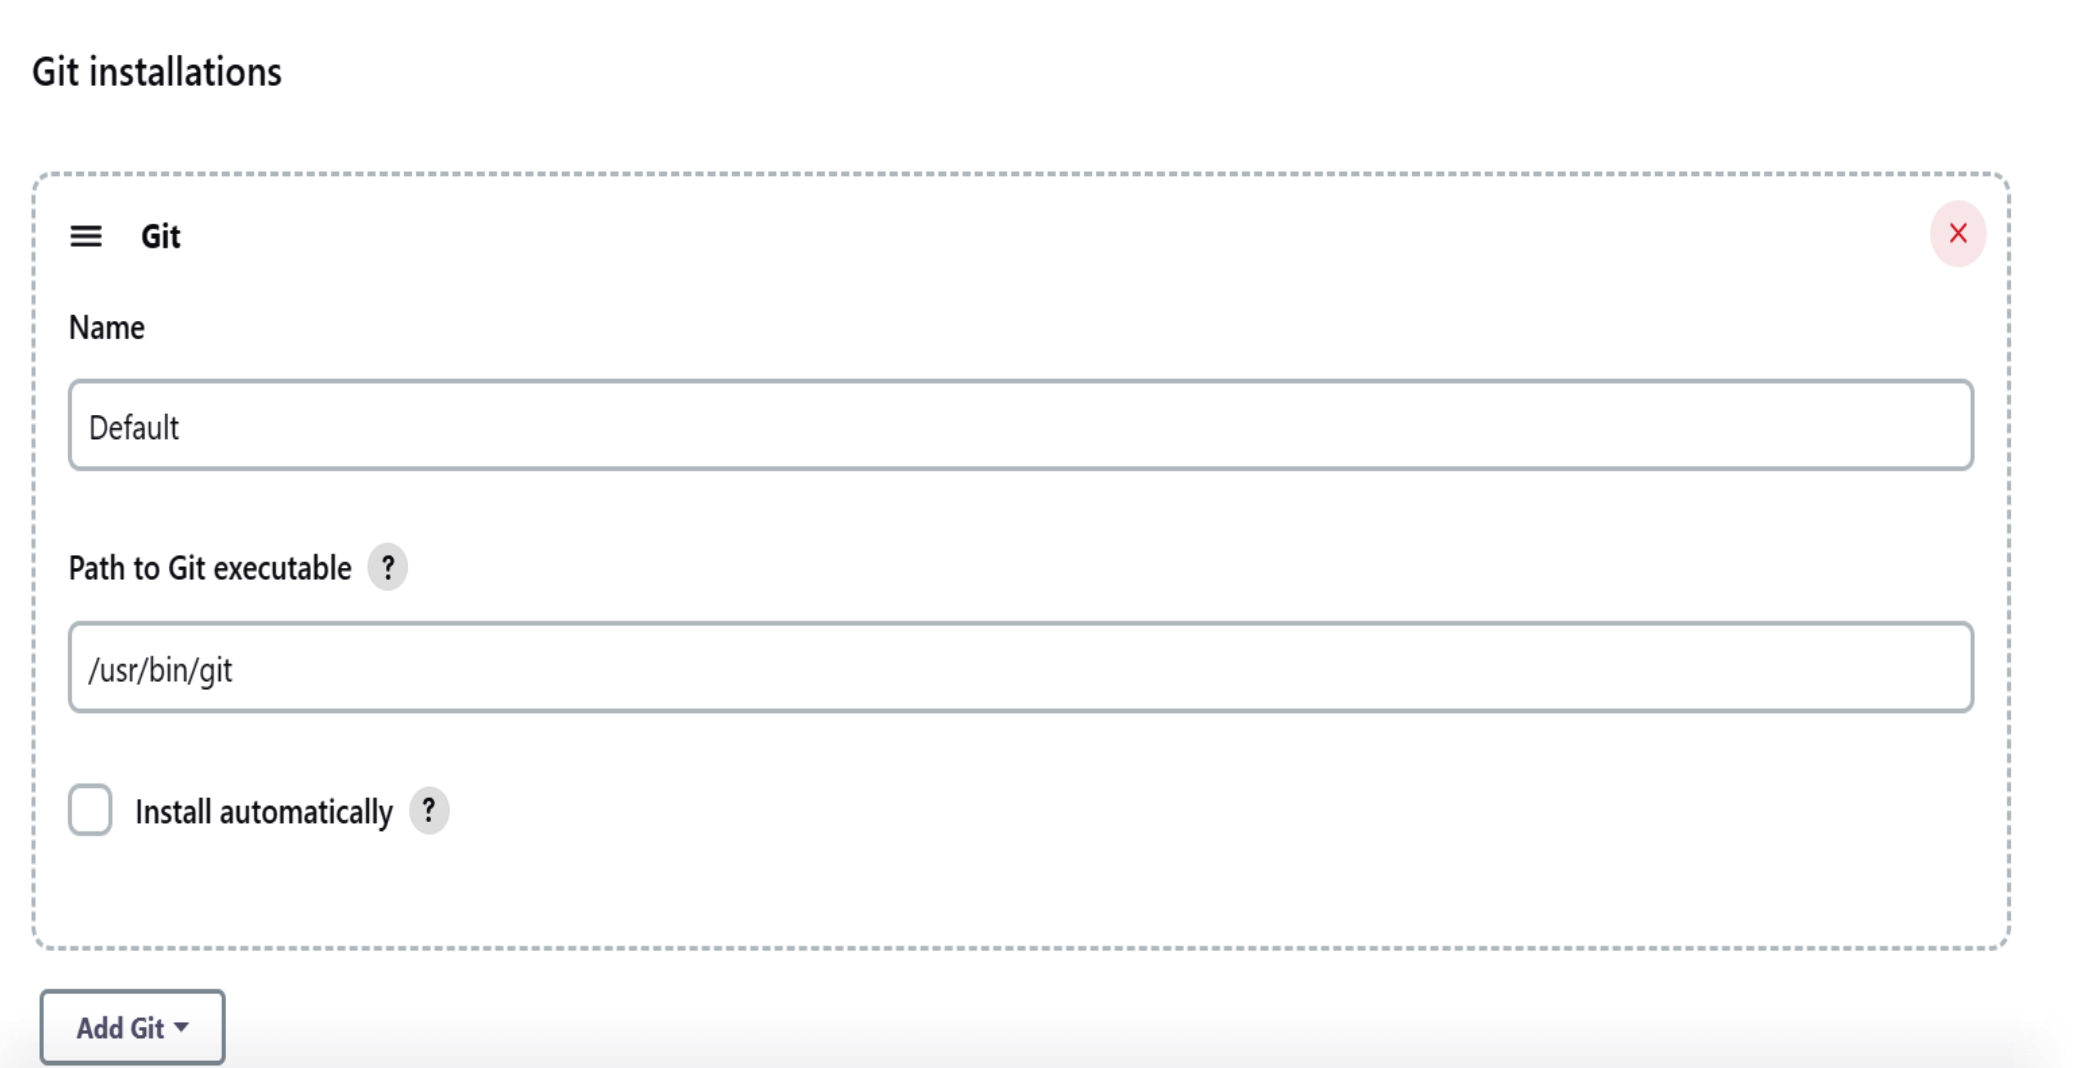
- Jenkins Plugins: Install and configure necessary Jenkins plugins such as Git plugin, Sonar Scanner, and Pipeline Maven Plugin. You can manage these plugins in Jenkins under “Manage Jenkins” -> “Global Tool Configuration.”
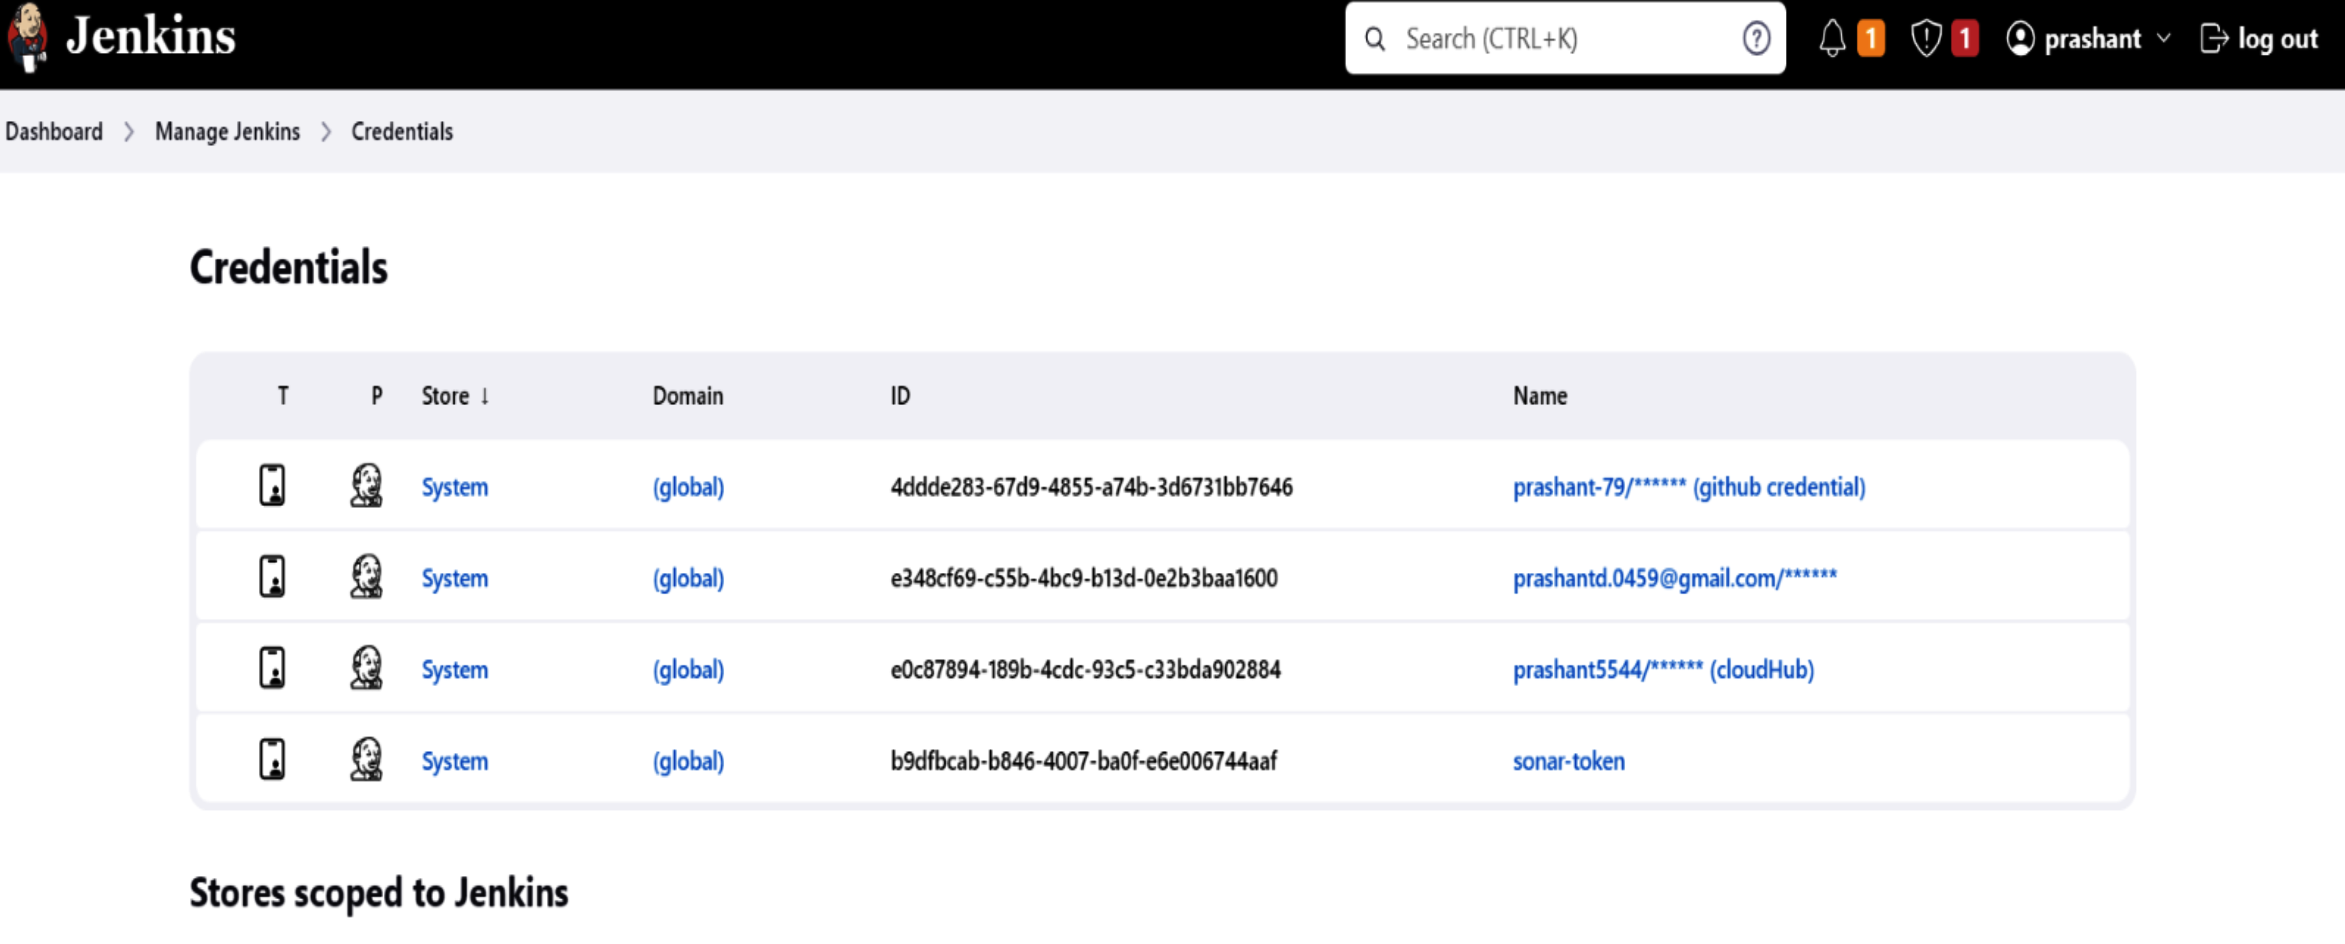
8. Manage Credentials
For secure interactions between Jenkins and other services, store any necessary credentials securely in Jenkins.
To integrate SonarQube into your Jenkins pipeline, installing and configuring PostgreSQL is a prerequisite.
Configuration of a SonarQube:
Here are the instructions for configuration SonarQube, creating a Jenkins pipeline, and its stages as described:
1. Install the zip utility:

2. Download the SonarQube distribution files:

3. Unzip the downloaded file:

4. Move the unzipped files to /opt/sonarqube directory:

5. Create a dedicated user and group for SonarQube:

6. Edit the SonarQube configuration file:

7. Edit the sonar script file:

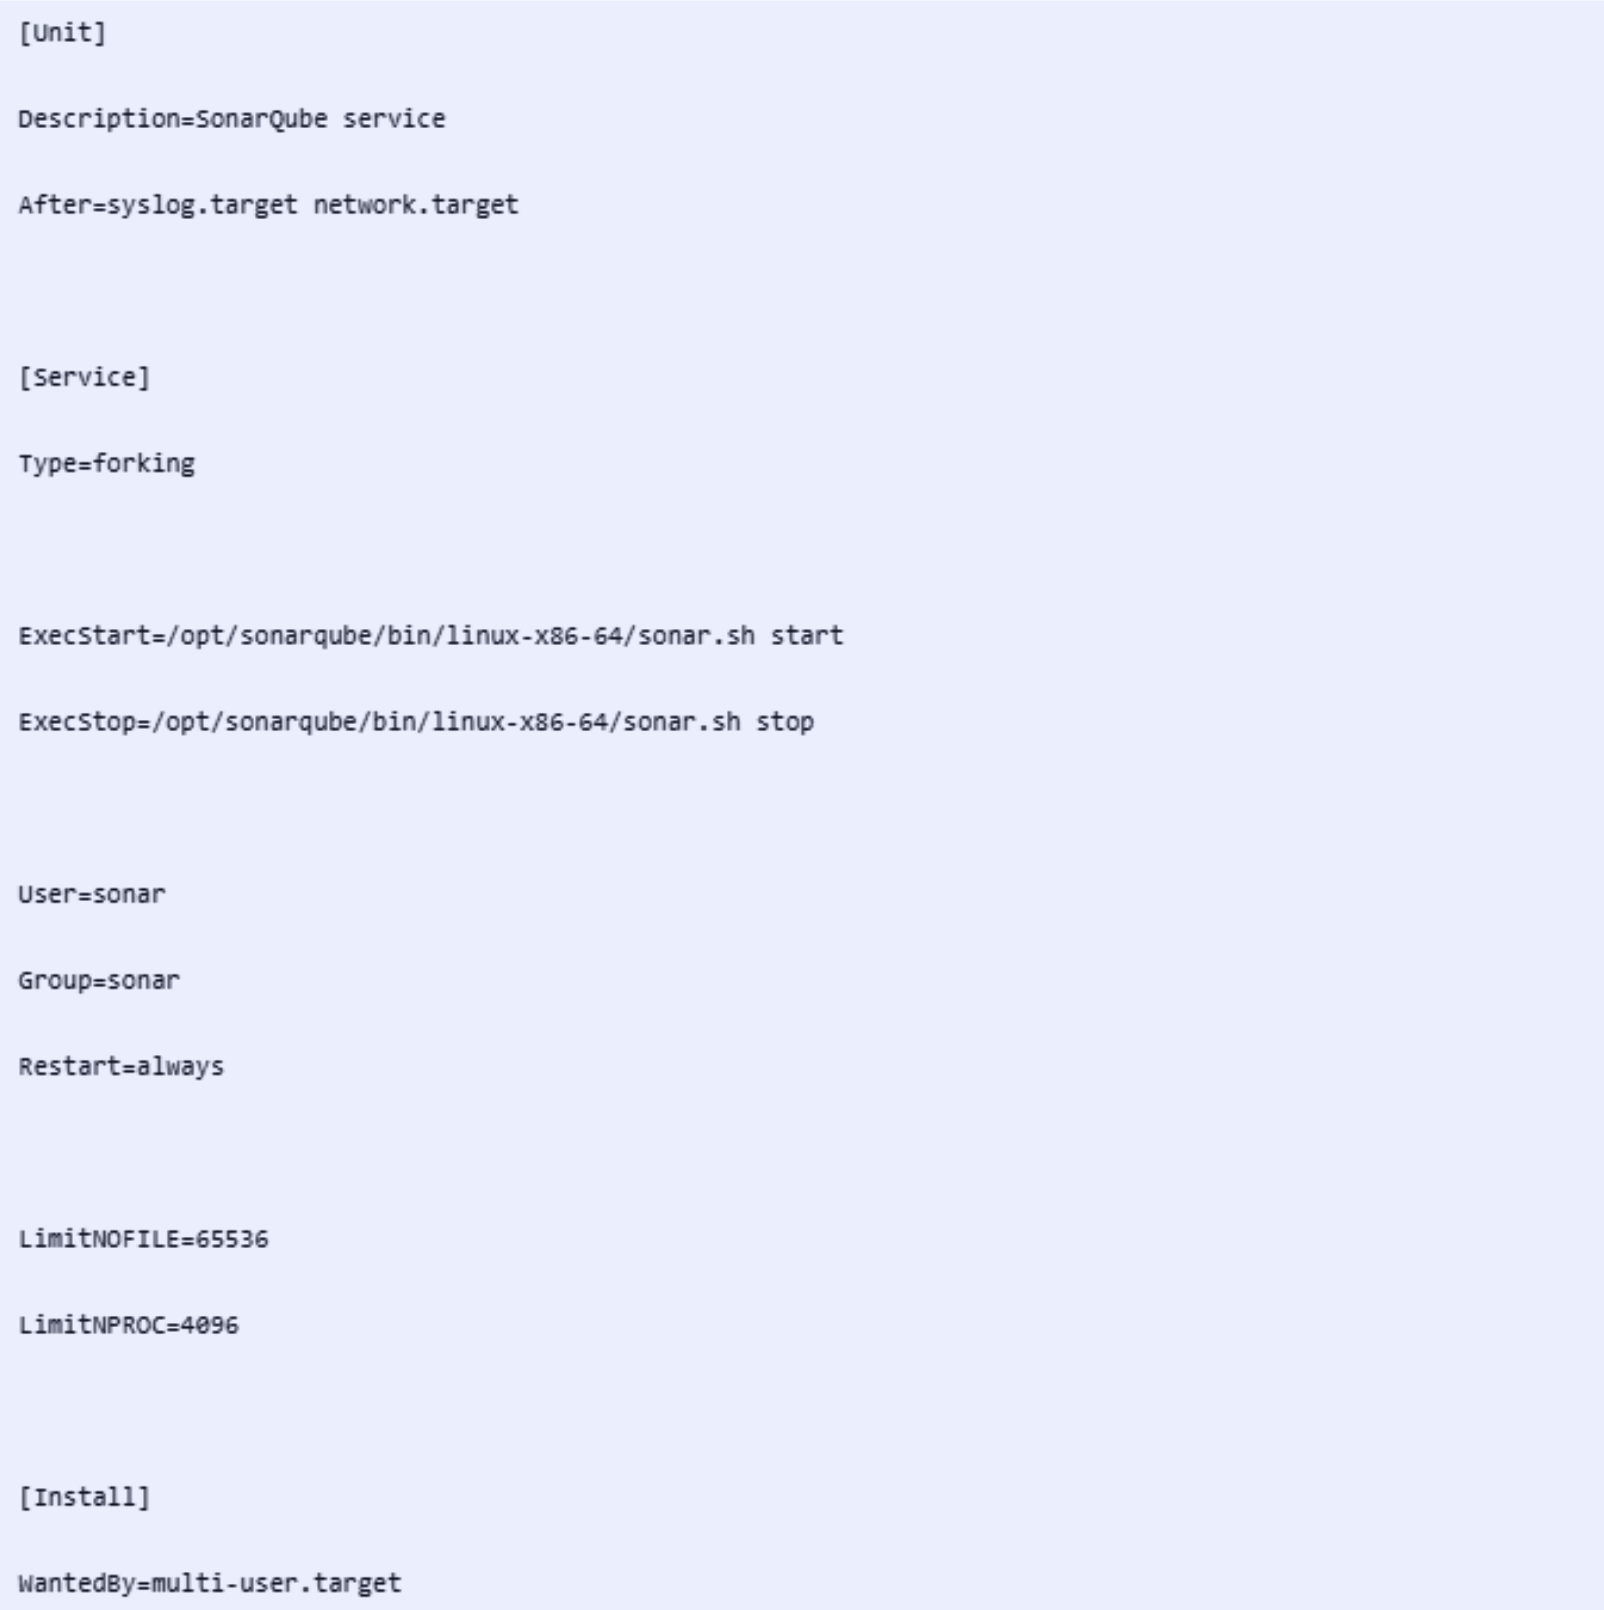
8. Create a systemd service for SonarQube:

Paste the following lines into the file and save and exit it.
9. Enable and start the SonarQube service:

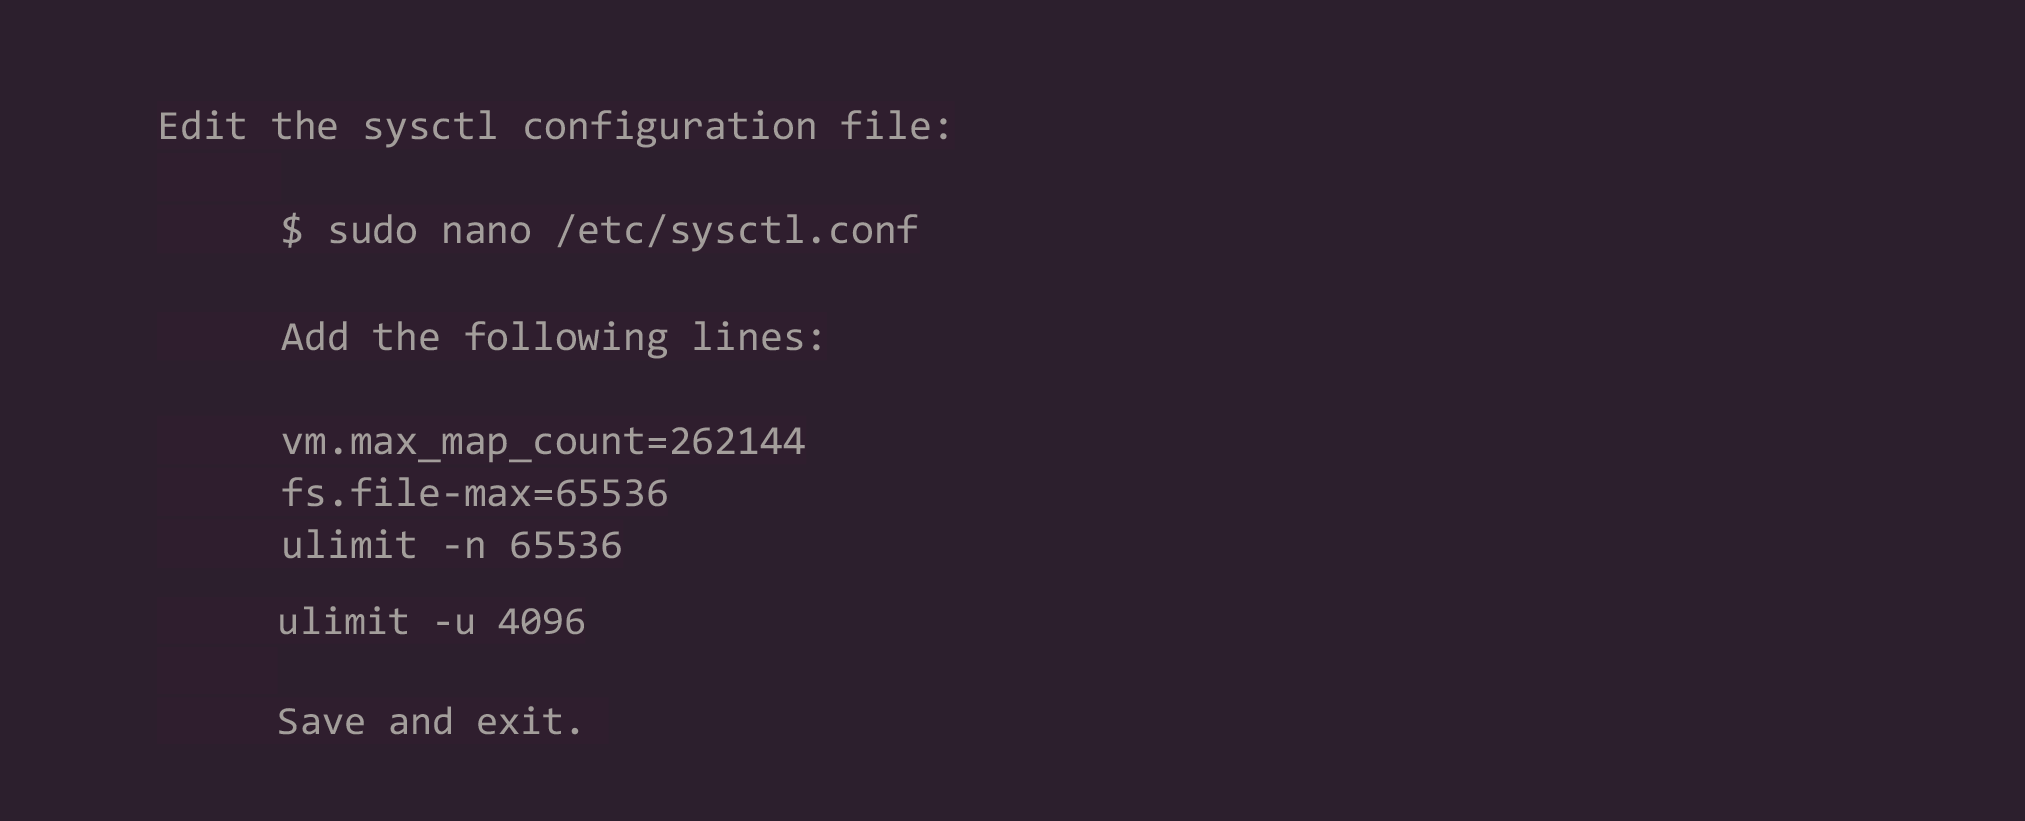
10. Modify Kernel System Limits:
11. Reboot the system to apply the changes:

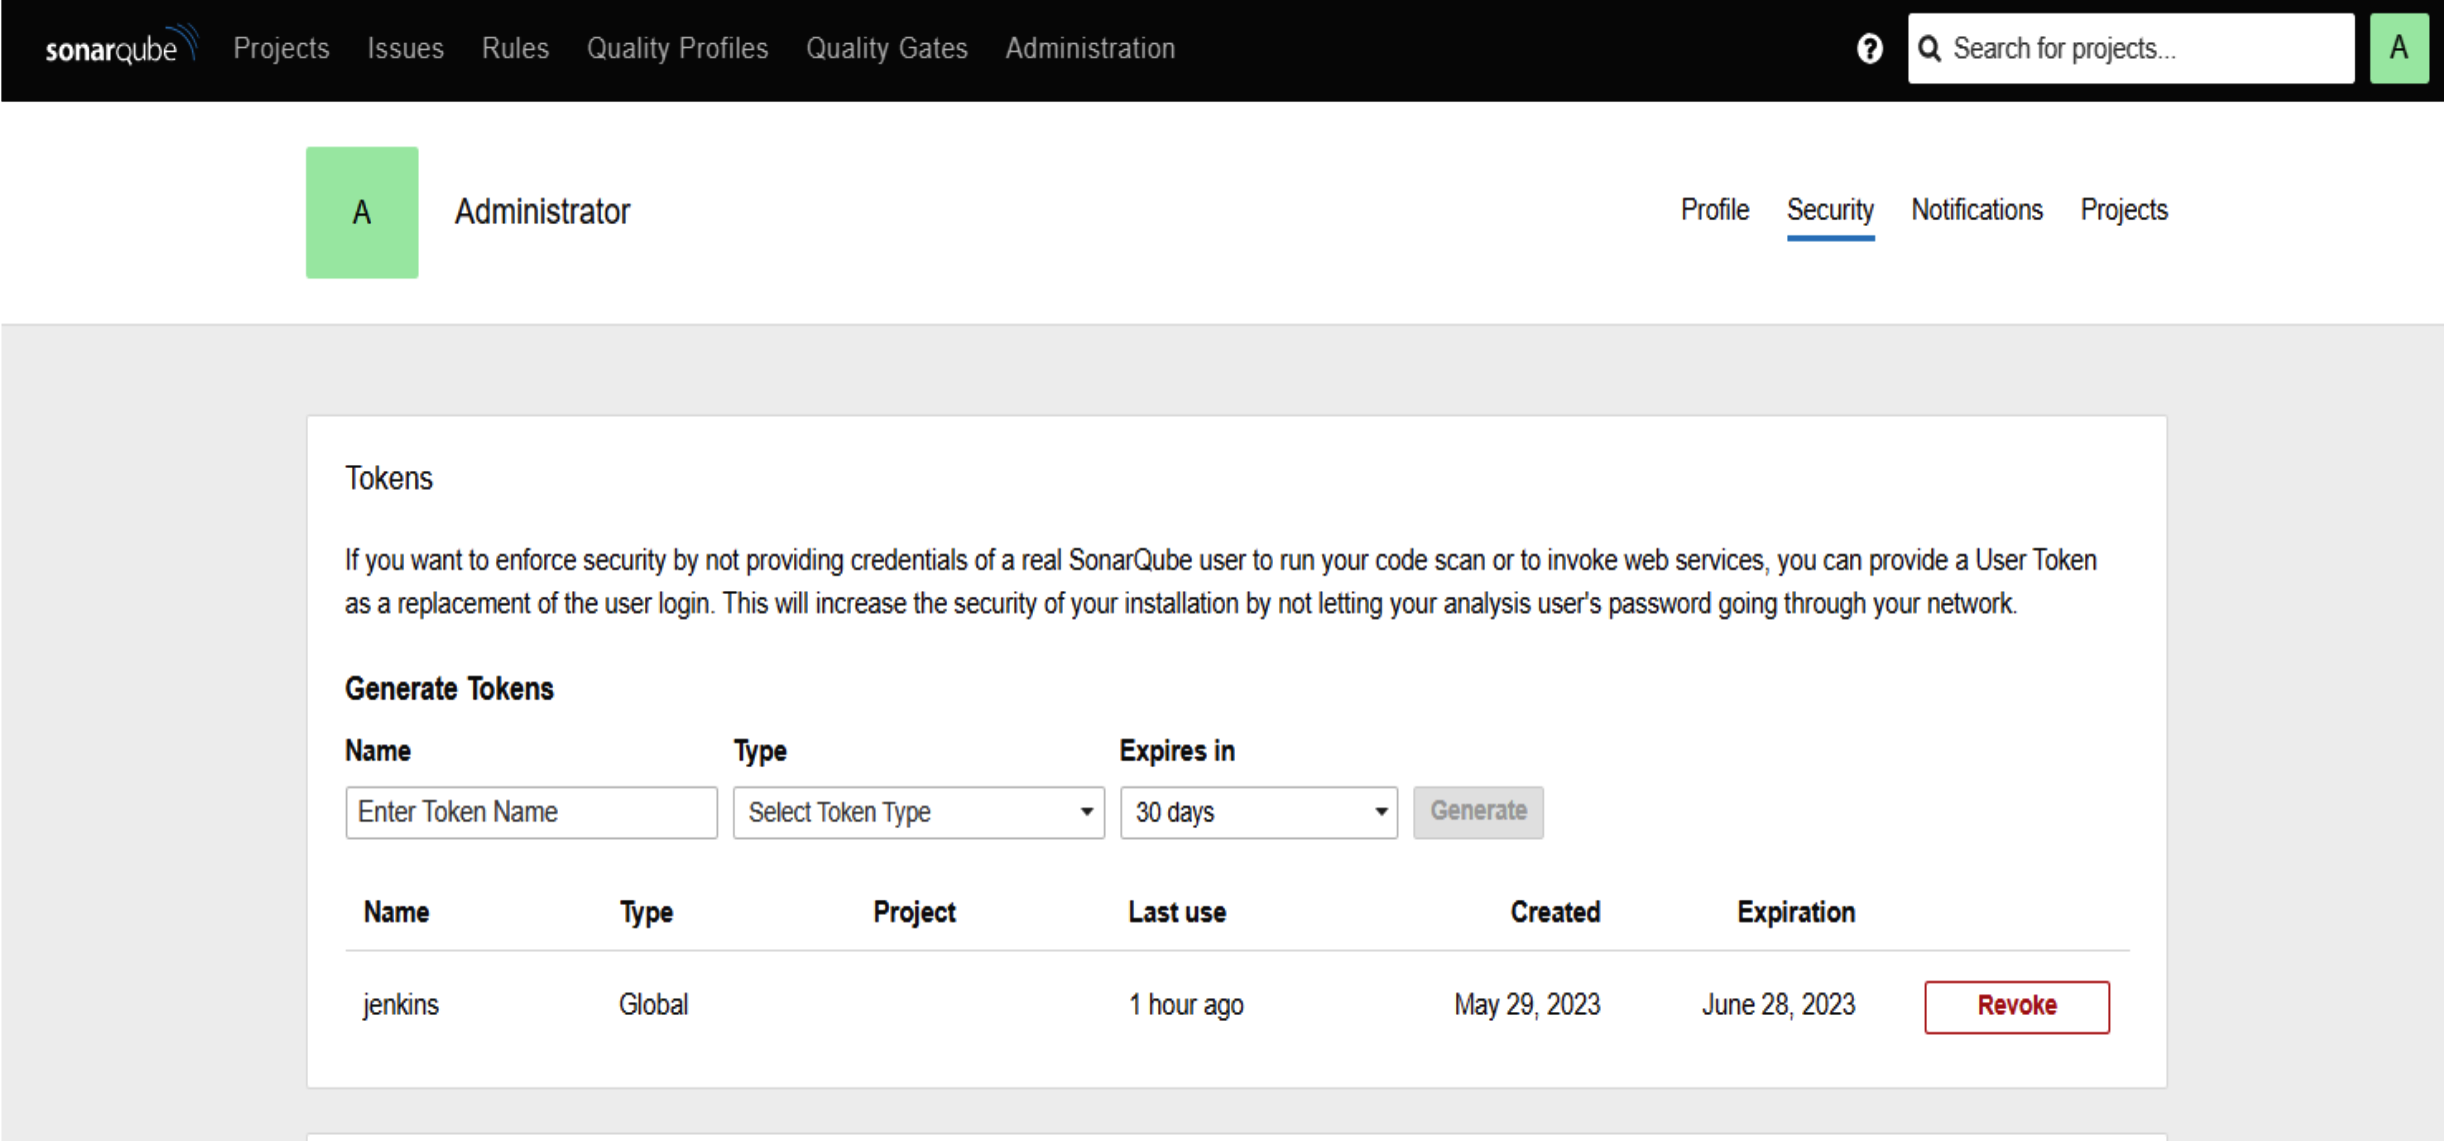
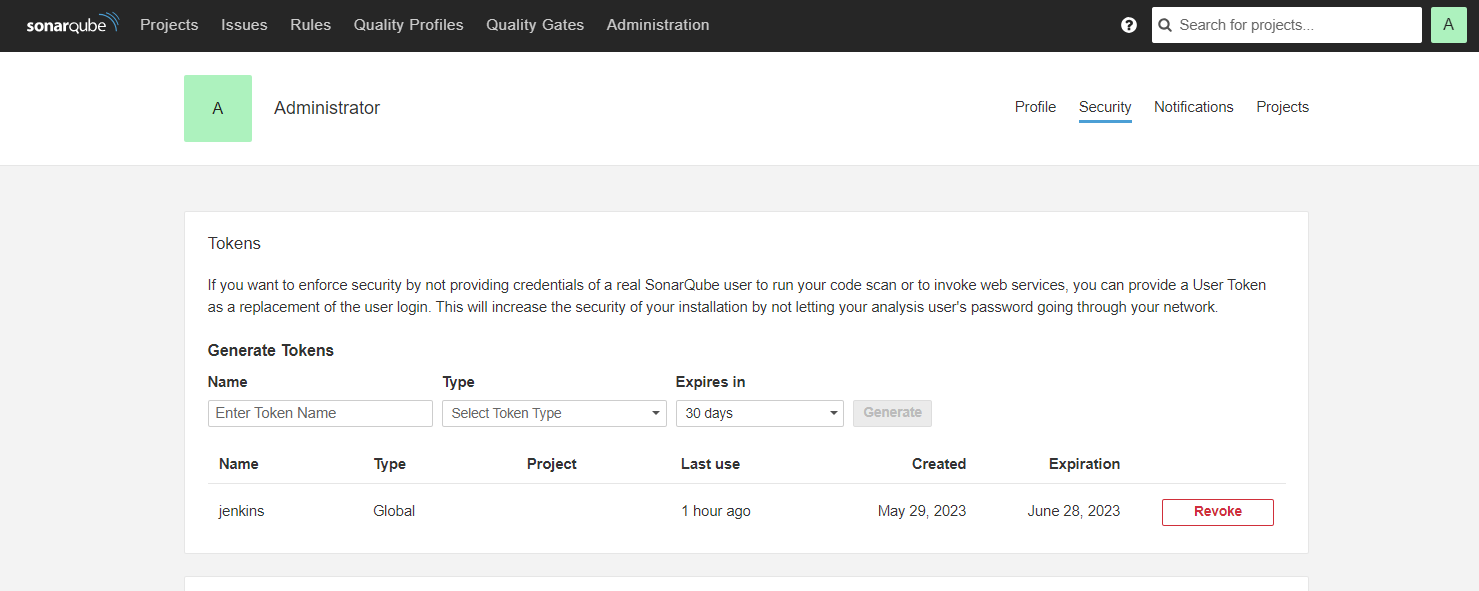
12.To access SonarQube, use your server’s IP address followed by port 9000 (e.g., http://192.0.2.123:9000). Log in with the default credentials: username “admin” and password “admin.” You’ll be prompted to change your password for security. Once logged in, go to “Administrator” > “Security” > “Token” to generate a security token. This token will be used as Jenkins’ credential for integration.
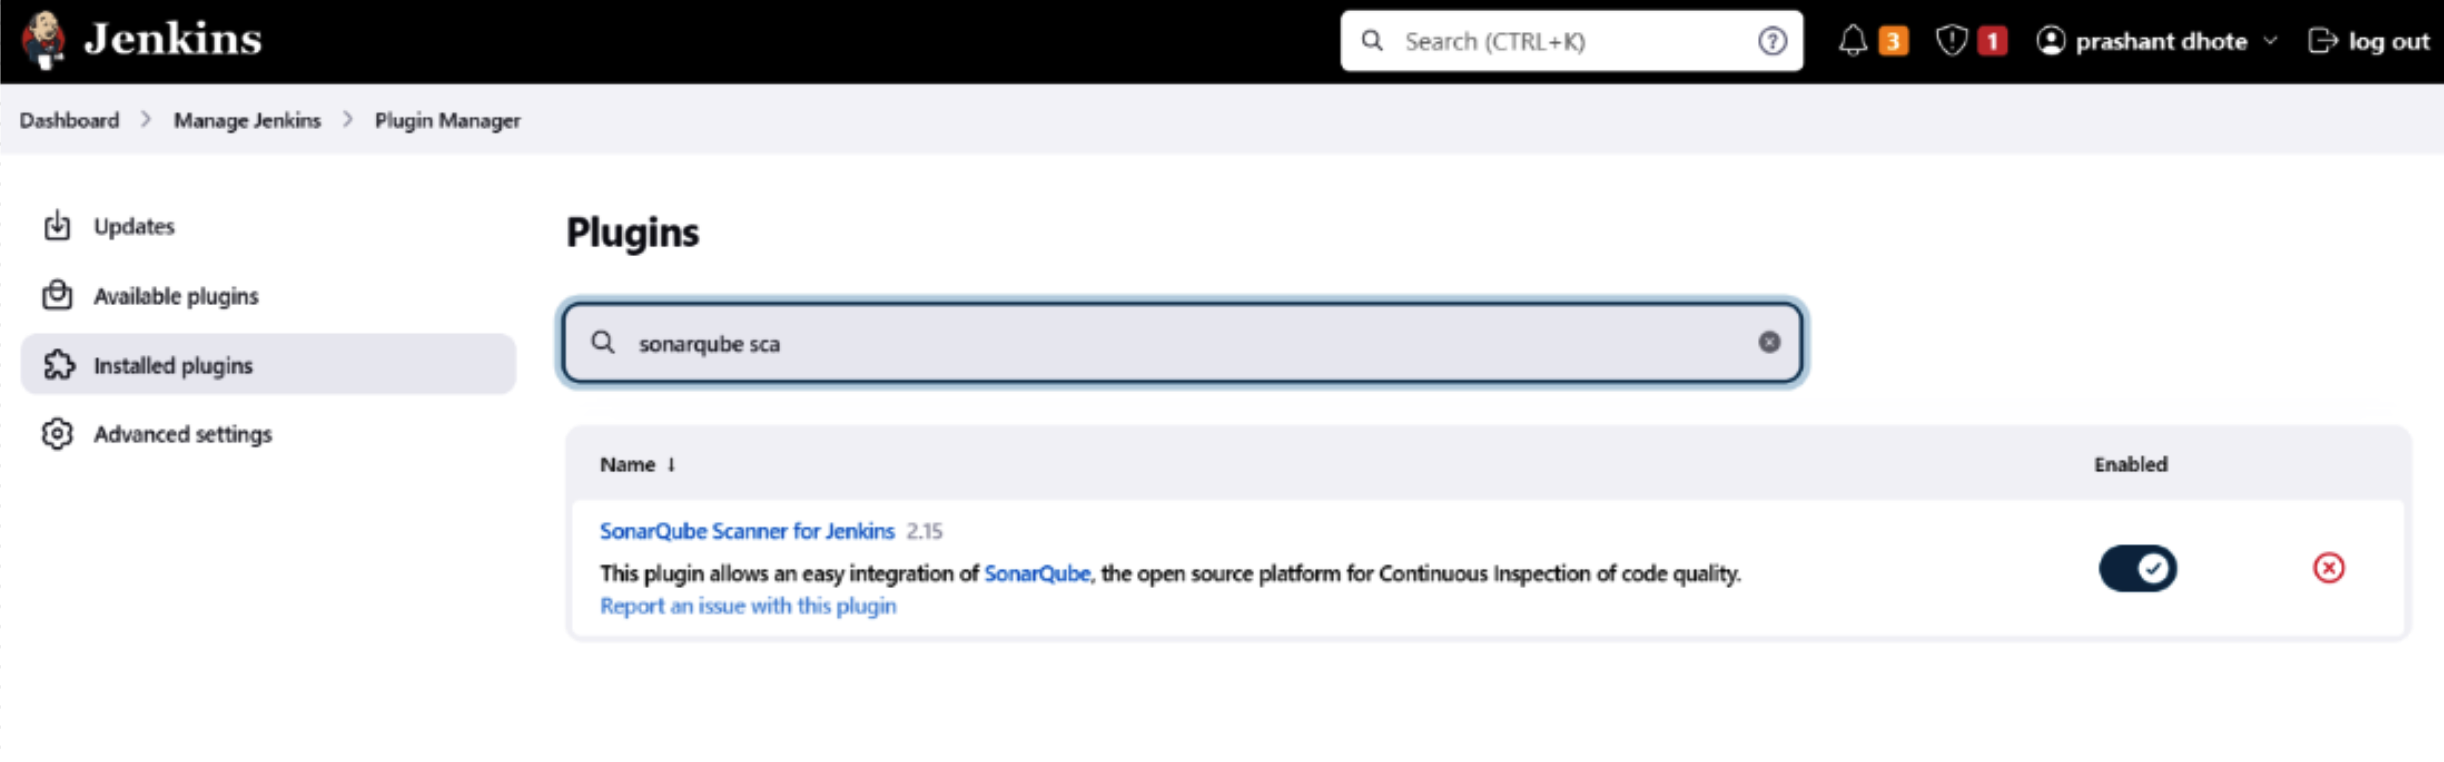
13. Install essential plugin – SonarQube Scanner on Jenkins.
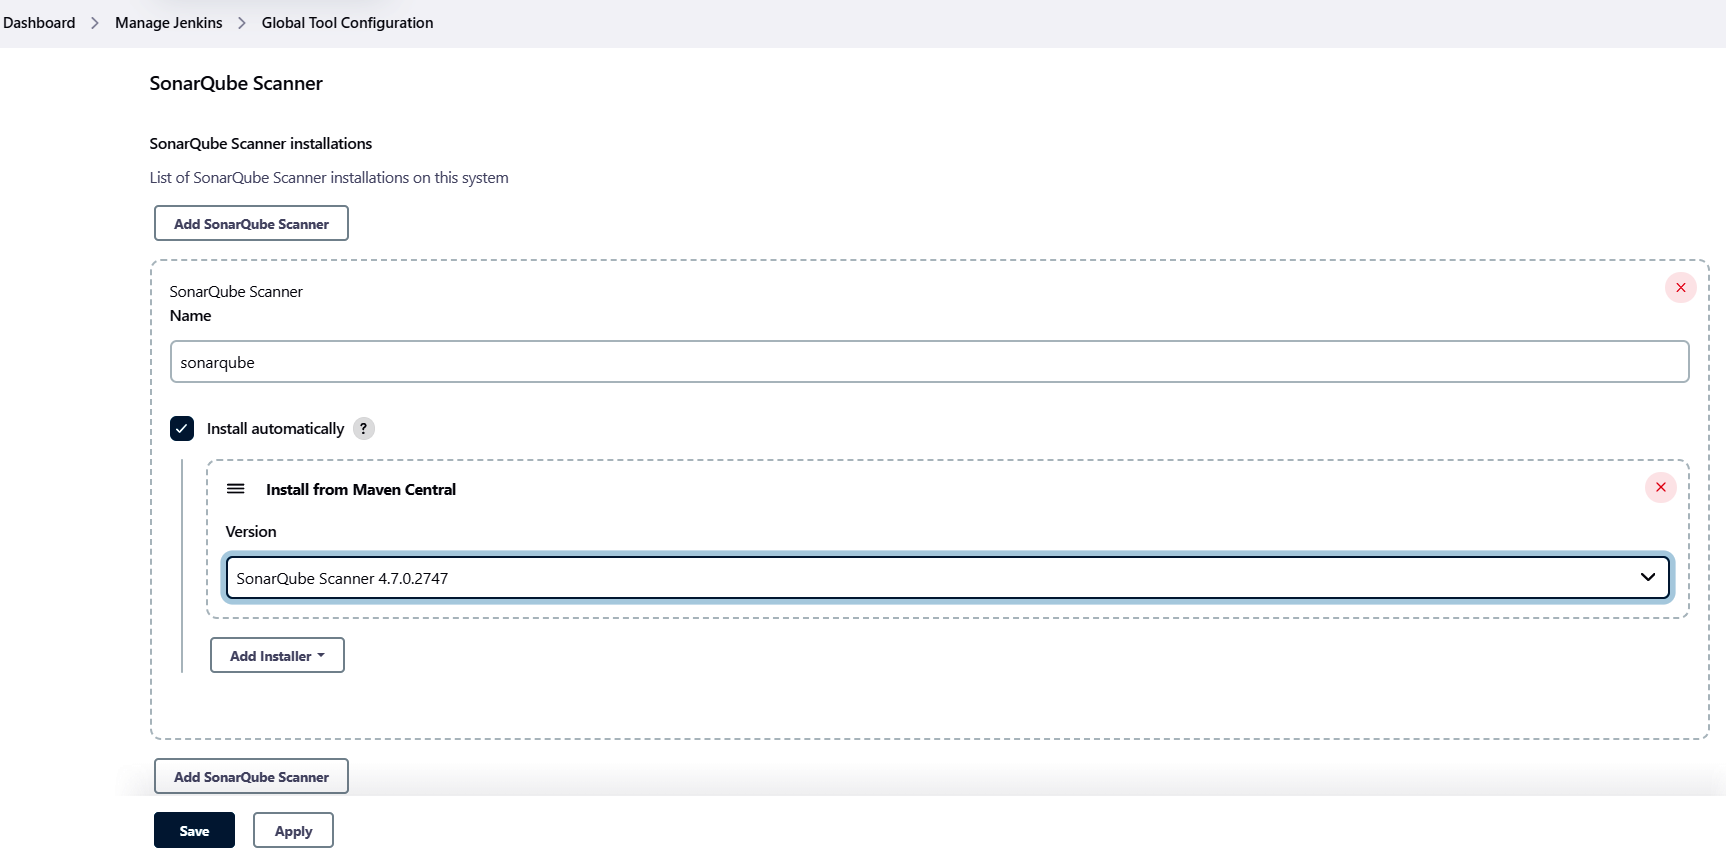
14. Next, install and set up Sonar-Scanner through Global Tool Configuration.
15. Configure SonarQube servers in Configure system, using the SonarQube token.
Conclusion:
In this blog, we’ve covered the essential steps to set up Jenkins for continuous integration and continuous deployment of your MuleSoft projects. Additionally, we configured SonarQube to ensure high code quality in your MuleSoft applications. With Jenkins and SonarQube in place, you’re well on your way to creating efficient and reliable CI/CD pipelines for your MuleSoft projects.
Stay tuned for the next blog in our series, where we’ll create a Jenkins pipeline script with multiple stages, including code checkout, building, testing, and deployment. If you would like to know how CloudFulcrum can help your organization, contact us or email us at support@cloudfulcrum.com.